
FINISHING - Page 106.
March 18, 2005: I took Friday off and put in
4.8 hours today (Saturday) in two working sessions. I had to buy some additional
brushes to spread epoxy resin for more fiberglass installation. Before I went out to
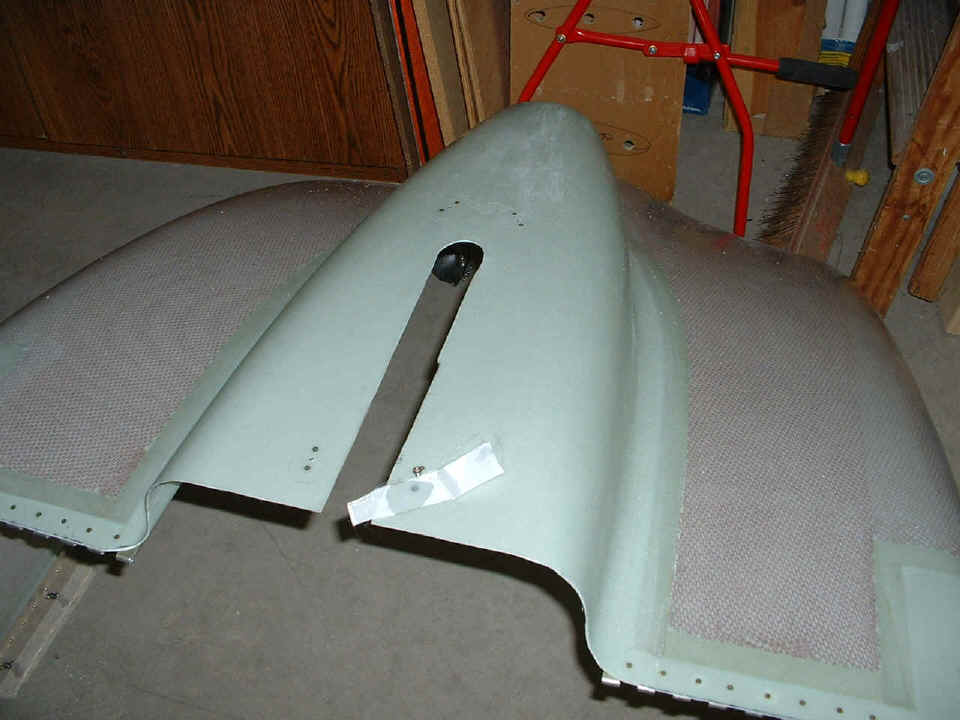
get those brushes, I put the two pieces of the nose wheel fairing together after sanding
the aft edge of the nose piece to better fit with the larger AFT piece. I also
positioned the extra piece I got from Fairings-Etc.
to the nose piece after doing some final trimming of it while everything was still on the
nose wheel yoke. As I was removing it, I noticed which screws were deflecting the
fiberglass shape of the large wheel fairing excessively while it is attached to the nose
wheel yoke.
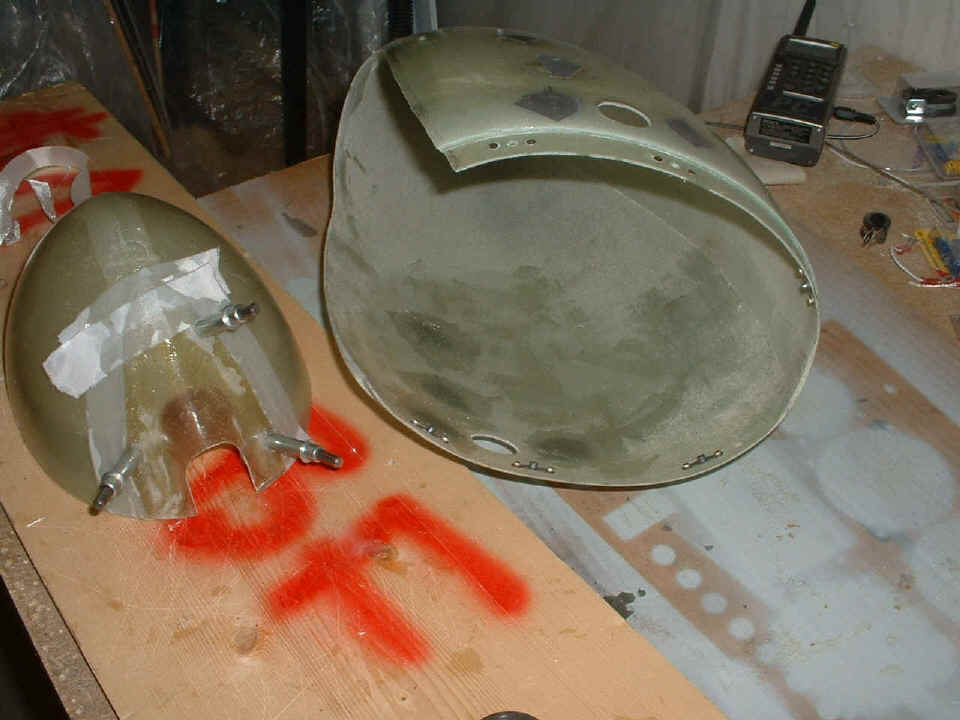
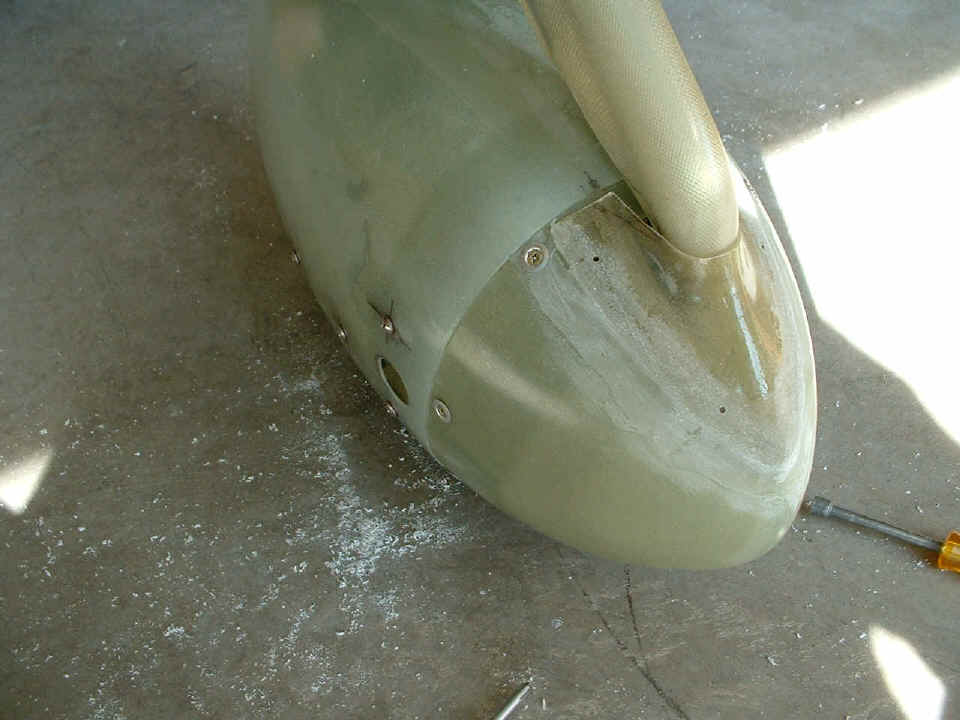
Here are the same two pieces after doing my fiberglass work. I reinforced
the areas where I drilled the screw holes to attach the wheel fairing to the yoke
assembly. I put vinyl tape on the outside surface, then filled the holes with epoxy
and put three layers on the holes on the LEFT side of the fairing. This also allowed
me to fill the first set of holes that were drilled in the wrong position. The right
side holes got at least six layers of glass on the inside to minimize the shape
deformation when I drill the holes again and install it back on the nose wheel yoke.
I also used some glass layers on the top side of the nose piece and some Dacron
Peel Ply to smooth the joints. You can see the six platenuts are now installed on
the wheel fairing to secure the nose piece to the wheel fairing.
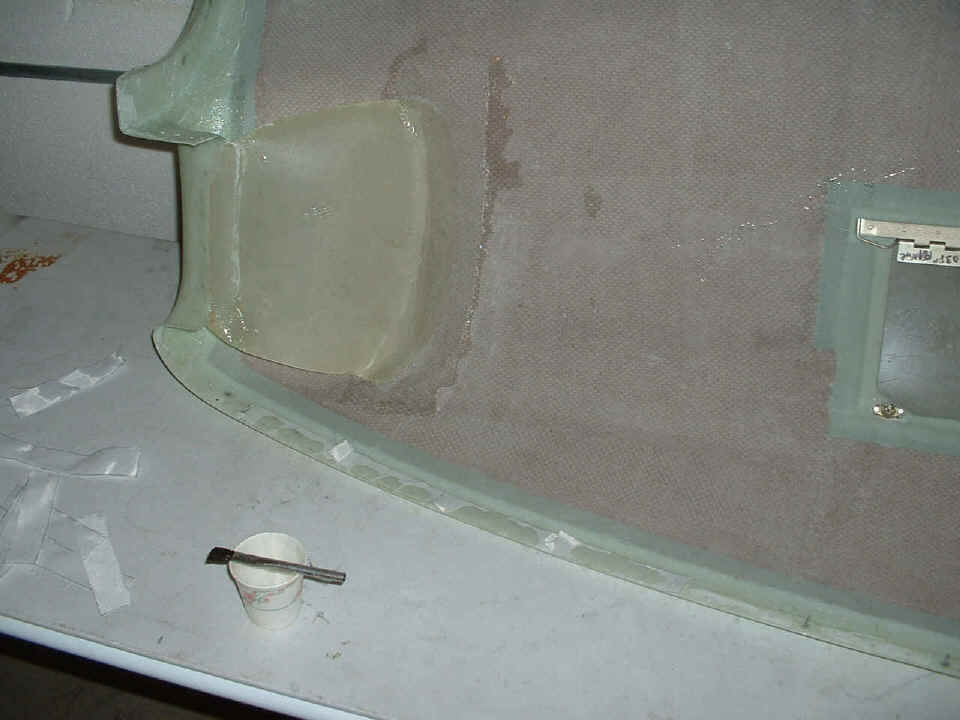
I riveted the four platenuts on the bottom of the lower cowl where the
intersection fairing is secured around the nose gear leg. It was then that I
discovered just how dull my countersink was becoming as a result of the glass work with
it. I knew it would become dull from the instructions in Van's manual. The
result, I pushed too hard with it on one of the four rivet holes and all of sudden, it
worked too well! I ended up with one of the rivet holes countersinked much bigger
than it needed to be. So, while I was mixing up epoxy, I patched the mistake and
will see tomorrow how it came out. I put on a small piece of Dacron to keep the
finish as smooth as possible. One rivet is in the platenut and a #6 screw to keep
the threads clean of the epoxy.
I also patched most of the holes in the upper cowl where I abandoned the rivet
holes in favor of screws to hold the upper and lower cowl together. I will finish up
filling the rivet holes when I mix up the next batch of epoxy for any other part of the
project. Small Dacron strips are on the inside of the upper cowl to insure the rivet
holes will be have a smooth surface.
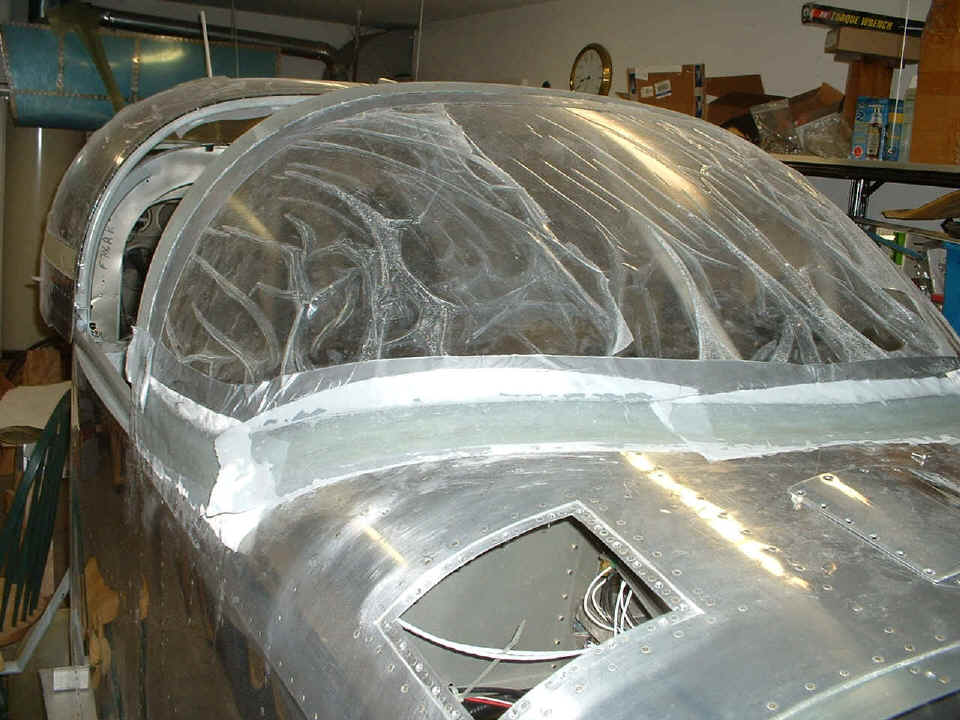
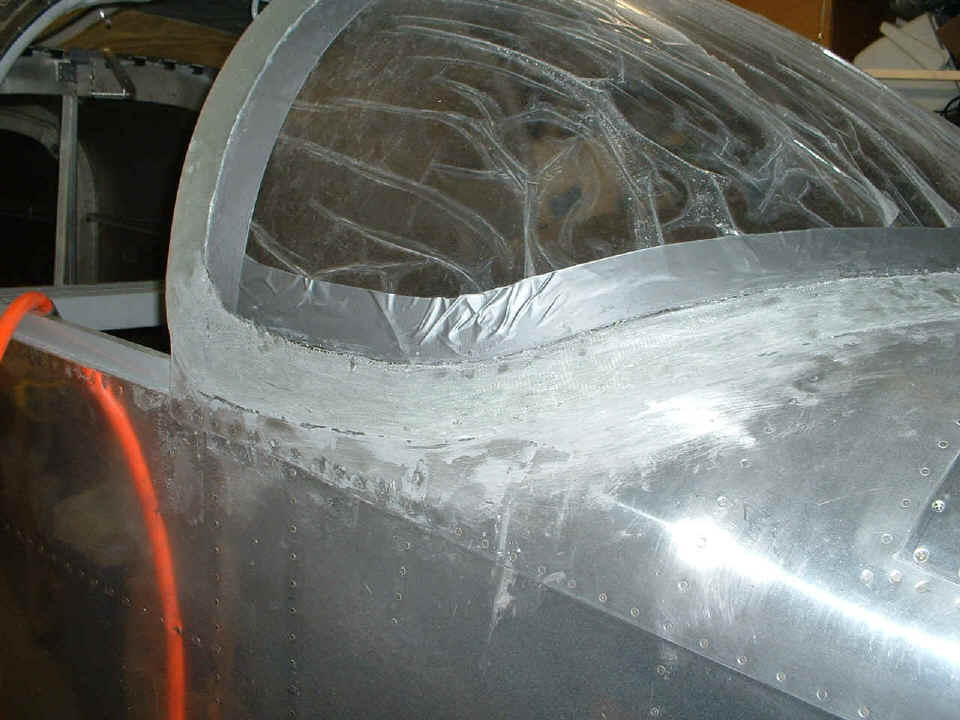
Then I turned my attention to completing the windshield work. I cut many
small strips of fiberglass cloth to fill the low spots across the full width of the
forward and side sections of the windshield bonding area. After that, I put in place
the large, long, single fiberglass cloth from side to side and plied it with the epoxy
resin. Finally, I covered it with multiple strips of Dacron Peel Ply as before.
I will know tomorrow if I have successfully filled all the low spots enough to sand
the surface to the shape it needs to become.
Overall, it was a good day! Not too much time working in the garage, and I had a chance to get out to do some shopping for the epoxy brushes at three different places and getting some fresh air at the same time. I also got an email from a business contact that could lead to something in the way of employment. We shall see... Meantime, I have this plane to get ready for flight! I have been working on the airplane as my full-time job since I got laid off from my former day job back on the last day of February 2005. With all the airplane parts paid for and money in the bank, I am able to put all my time on this project!
March 20, 2005: The first
day of Spring brought a nice warm day with sunshine and clean up of the work from
yesterday. I pulled off the Dacron from the patched holes on the nose wheel fairing
and drilled out the correct holes in the center of the cross-hairs. All is fine!
I even got out the countersinked washers and matched them to the nose piece after
sanding off much of the extra glass from the nose piece. It still needs a bit more
finishing before it is ready to go, but there it is on its first fit.
Next came the removal of the Dacron from the upper cowl rivet holes and from
the windshield. The upper cowl required no sanding. The windshield has enough
epoxy and glass to come out right when I finish all the sanding to shape.
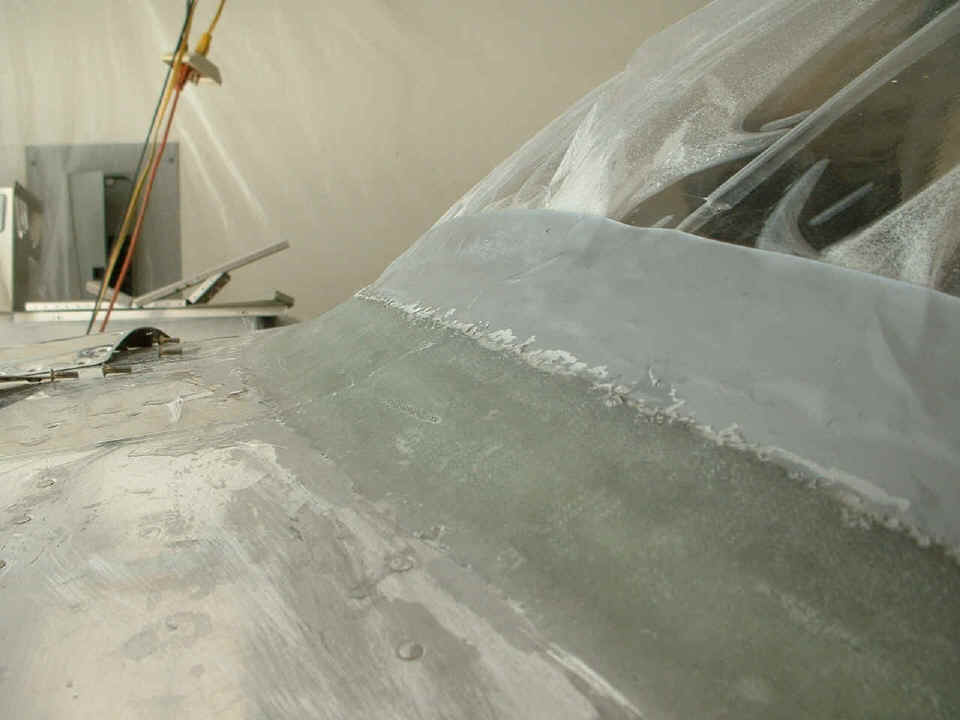
Speaking of sanding, here is the RIGHT side after putting in some time with two
different sanding blocks. Now I have to do the same thing all the way across the
front of the windshield.
No photos of it, but I did remove the slick packing tape from the plexiglass canopy and beveled the front edge of the canopy to insure an easy closure of the canopy with the overlap of the fiberglass across the top of the windshield. Since the sanding blocks took plenty of time, it was five hours work time for today's session in the afternoon. The total aircraft construction time is now 1751.9 hours.
March 21, 2005: A very short session of only 0.6 hours this evening to sand more of the lower windshield fiberglass transition area. I spent a good part of the day doing a commercial web site project. The picture above motivated me to continue working across the front of the windshield sanding off the high points and getting a more uniform surface in the transition from the F7106 forward top skin to the plexiglass windshield.
| CLICK HERE for Finishing PAGE 107. | RETURN to MAIN MENU. |