FIREWALL FORWARD - Page 61.
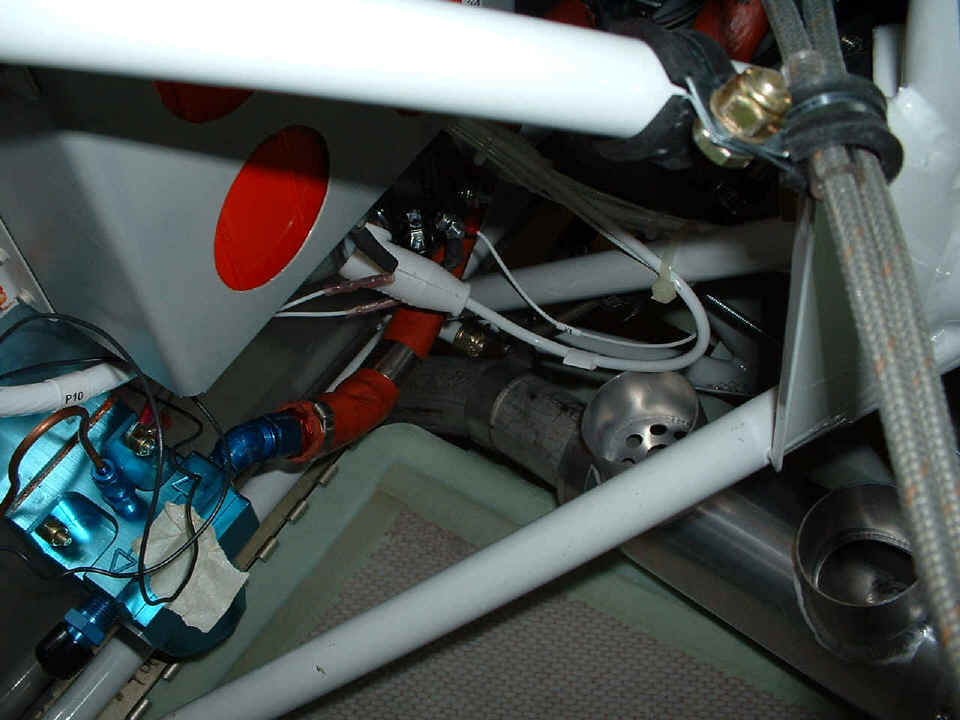
October 20, 2004: More about the latest MILESTONE DAY! Before putting on the cowling, I had
re-oriented the heat muff and moved it a bit closer (forward) to the ball joint that lets
the pipes point to where they need to be exiting the lower cowl. The pipe is a
little too close on this side, so I went around to the other side and pulled on it a bit,
moving both pipes more to the center of the cowl opening. It appears that I need
another heat shroud to go on that exhaust pipe down there near the RED fuel line.
Sounds like another order to Van's Aircraft is in the works. I need to order a Koger
Sunshade anyway. (Cap'n Tall, I will get that bolt turned over for you (and
me). You can see that it is a type AN lock nut on it.)
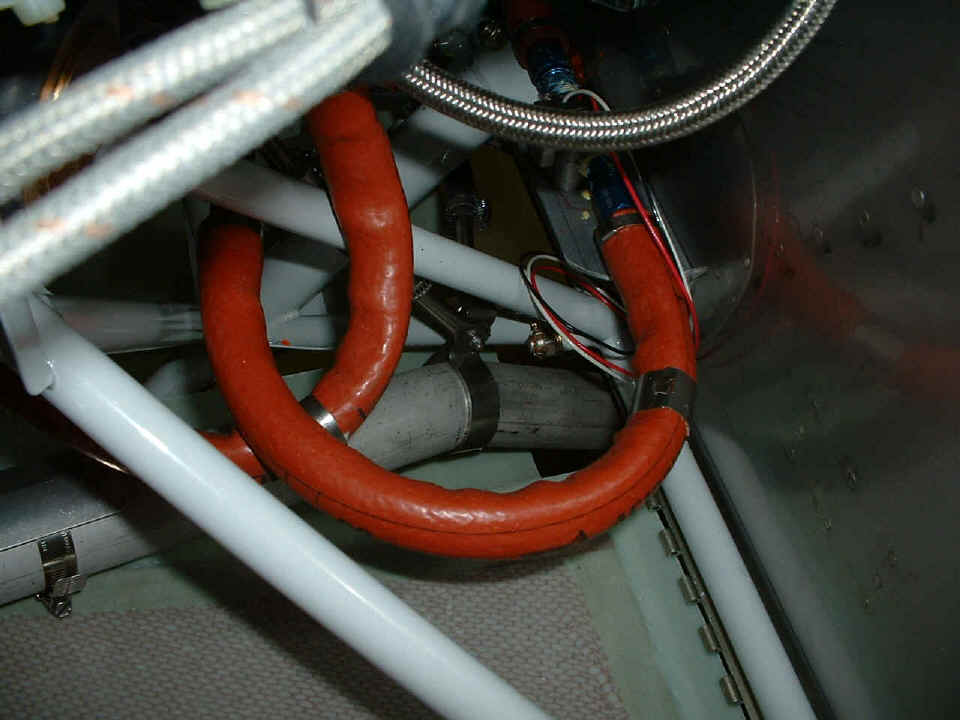
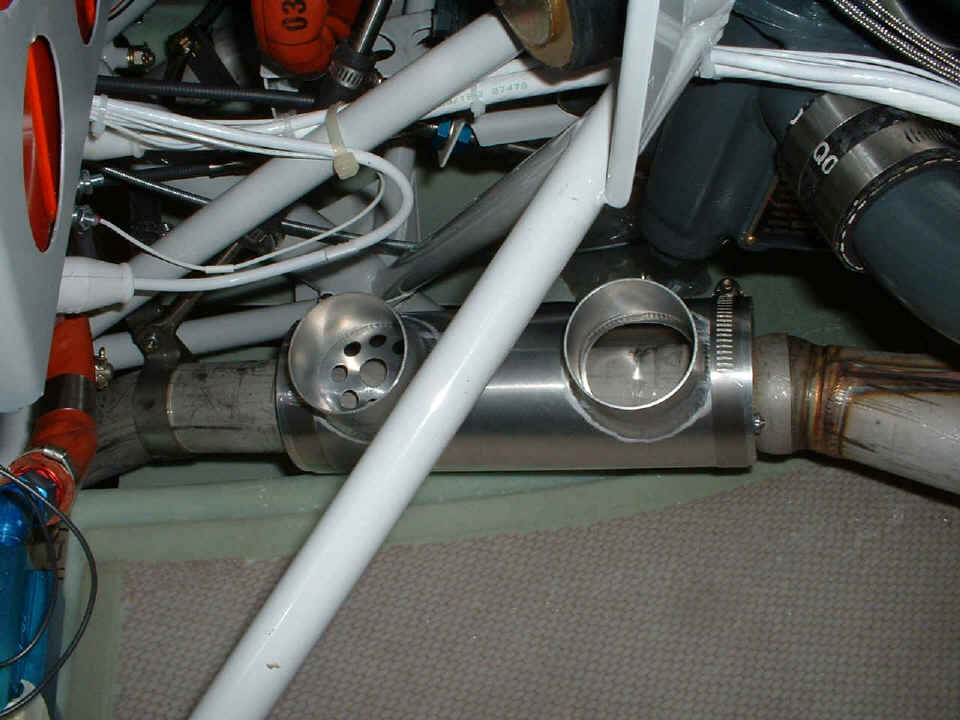
This picture shows the LEFT exhaust pipe before I
re-centered both of them.
The red, white, and black wires come from the fuel flow sensor hiding down there on
the firewall. Those two gray wires in the upper left corner near the camera are the
two spark plug wires going to cylinders 2 & 4 from the magneto. The bare silver
hose that is blocking the view of the fuel sensor is one of the oil cooler lines attached at
the engine, but not connected to the oil cooler (yet).
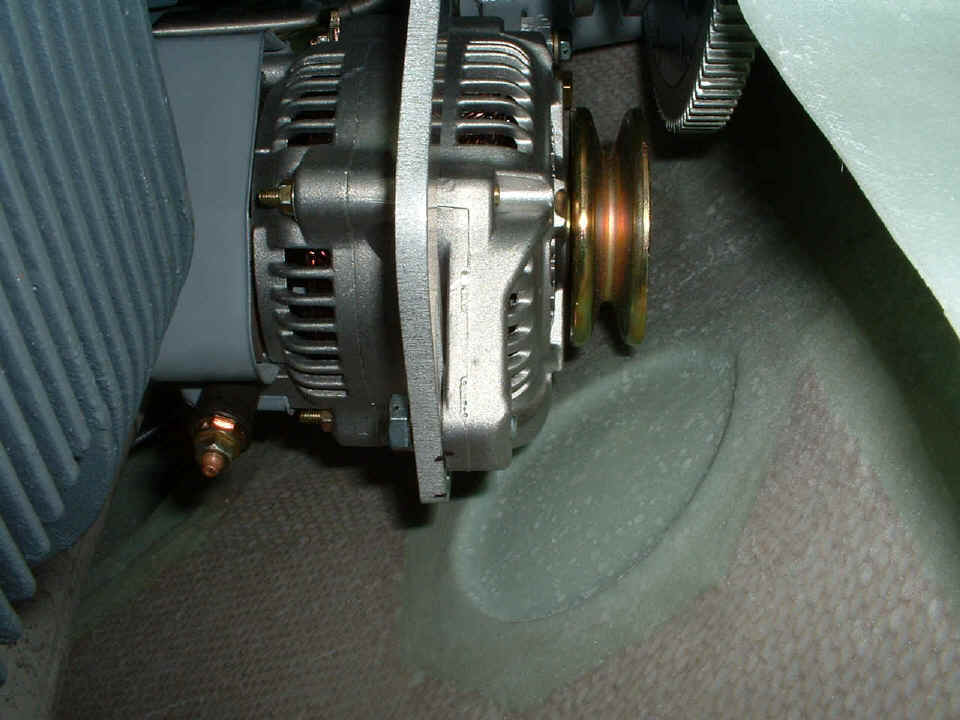
And the last picture for today is looking inside the cowl at the clearance
below the alternator where things look fine here. Notice the black marks on the
alternator brace arm and the black mark on the alternator. After grinding off some
of the bolted-on steel mounting ear at the aft side of the alternator, I was able to pull
the alternator a fit farther UP from the mark you see here. The bottom of movement
against the brace arm is the last mark shown below. The two marks lined up in this
photo are where I hope to secure the alternator, IF I can get
just the right V-belt.
Another 4.9 hours were added to the builder's log book tonight.
October 21, 2004: This day was a short one
installing the remaining two hinge strips on the bottom edges of the cowl either side of
the exhaust pipe exit area. I drilled and countersinked all the holes in the
fiberglass cowl, then riveted the hinge strips in place. NO
CLECOES remaining!
Looking down inside at the heat muff, I have rotated the muff just a bit away
from vertical to provide clearance for the air hoses around the engine mount and
electrical wires.
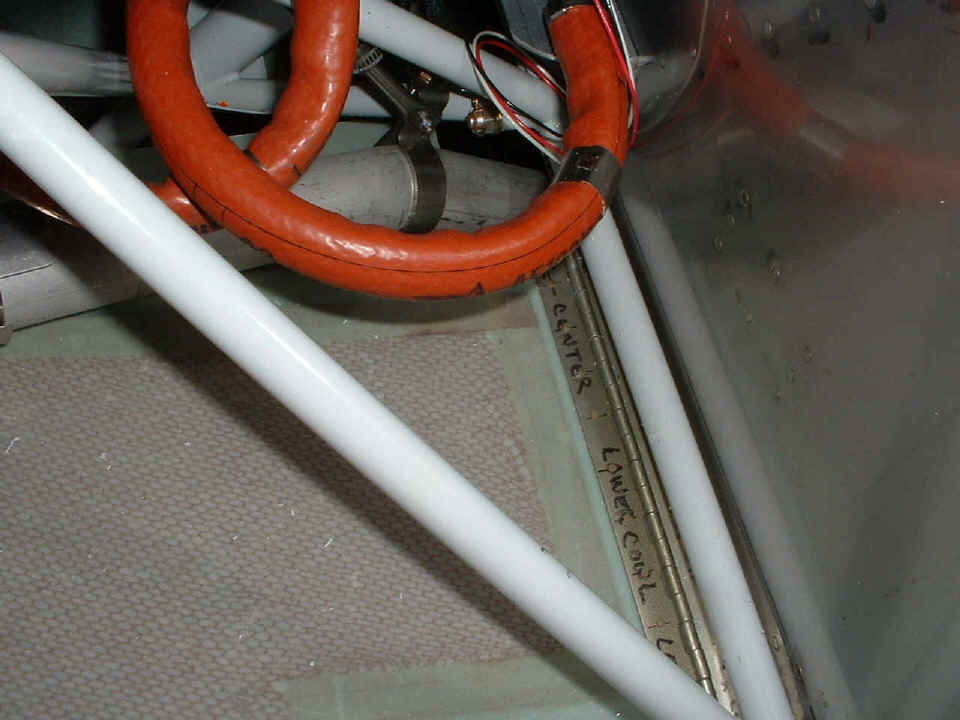
The last shot for today shows the bottom LEFT hinge strip riveted in place and
interlaced with its counterpart that is riveted to the firewall and lower fuselage skin.
I got out the various aluminum sheets and formed parts that make up the lower cowl
brace between the exhaust pipes. After looking at the print, I can see that I have
to get out my crawler for some time on my back looking up at the slot in the cowl between
the pipes.
| CLICK HERE for Firewall Forward - Page 62. | RETURN to MAIN MENU |