
FIREWALL FORWARD & WIRING - Page 52.
September 4, 2004: I managed to get some work done on the airplane in between my time in front of the television set following the progress of Hurricane Frances in Florida. I have some friends down there and I was in touch with some of them providing updates on the eye of the storm as it made landfall. Some friends in West Palm Beach were without power and relied on my telephone calls and verbal descriptions of weather radar to tell them what to expect as the storm peaked in their area of southern Palm Beach county.
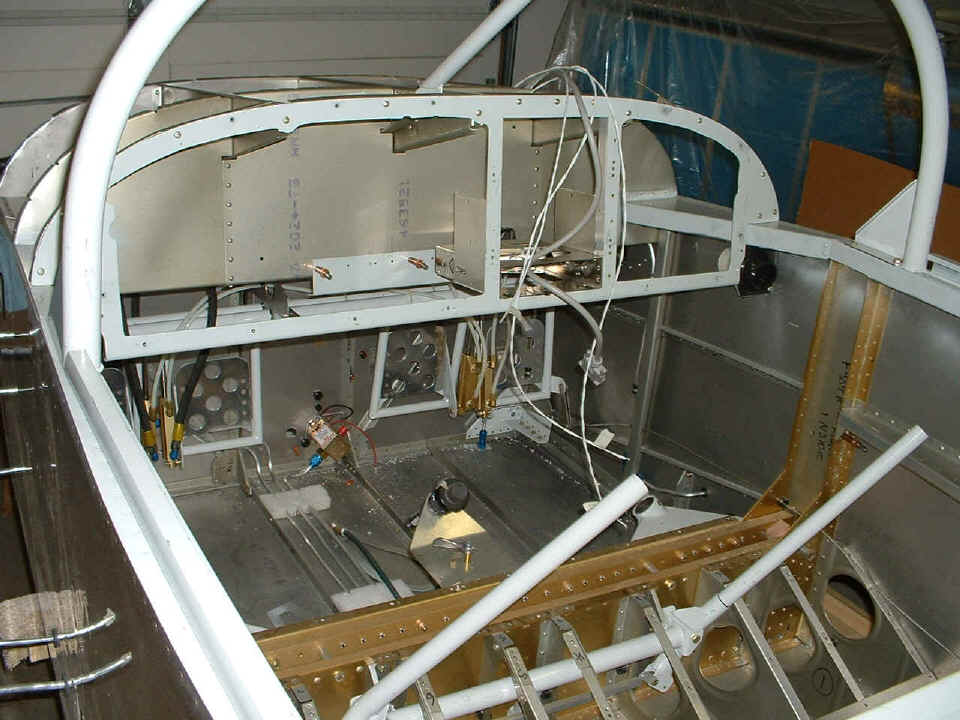
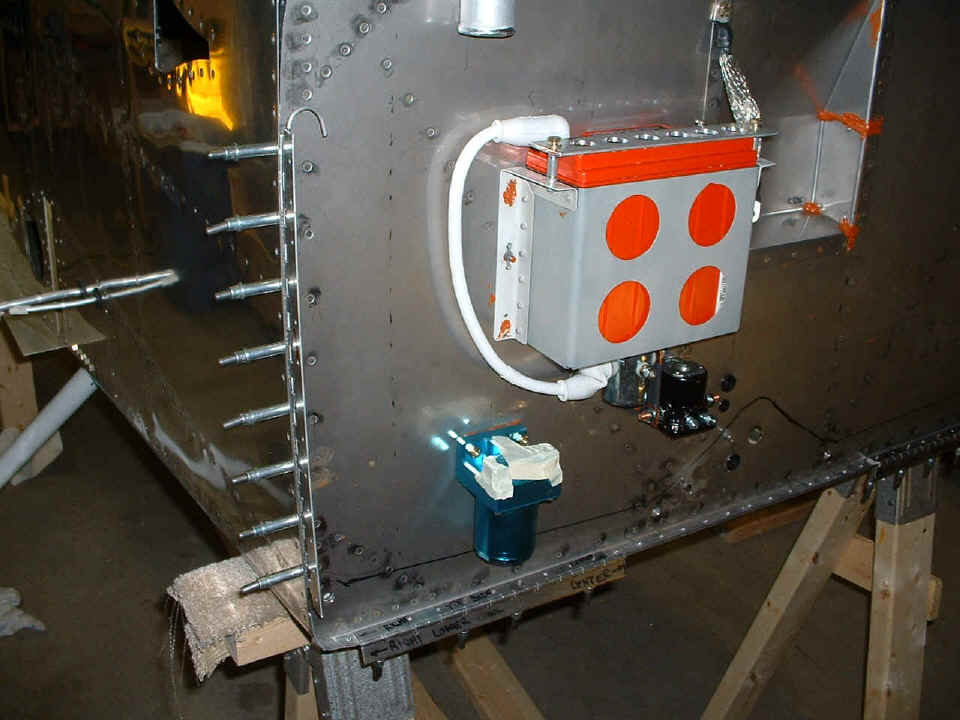
As for the RV-9A, I spent my 6.8 hours working to install the doubler for the
gascolator and putting some holes in the firewall for engine and propeller control cables
and some wiring access holes. I had to unbolt and move the rudder pedal assembly in
order to get the doubler in for the gascolator which is the blue canister visible below
and left of the battery box. I riveted in the firewall recess and sealed all the
rivets with a high-temperature RTV compound. I primed the bare areas of the steel
battery box while I had it off the firewall and used more of the RTV to seal the bolts as
I put it back in place. I also pulled off the solenoids and put RTV on the bolts
holding them in place.
I have removed the canopy and the instrument panel to lighten up the fuselage
to roll it on its sides one last time for another cleaning before I put it up on taller
saw horses that I have to build in the coming week. I want to get the whole thing up
on the wheels before Friday, when I could be receiving a new engine from Penn Yan Aero
Services. When I last spoke to them this past Thursday, the engine was assembled
waiting in line to be tested before shipping.
My oldest son called me from Texas today to tell me about his first flying lesson. He was excited to give me all the details of his take off and flight with an instructor including stalls and his first approach to a bounced landing. The instructor wisely applied a little power to get airborne again, stopping the bouncing, and then flared the Cessna 172 to a normal landing. Considering that he has only flown flight simulators, it was a good first day for my son to put in his log book as a student pilot. Congratulations Edward on taking the first step to becoming a private pilot!
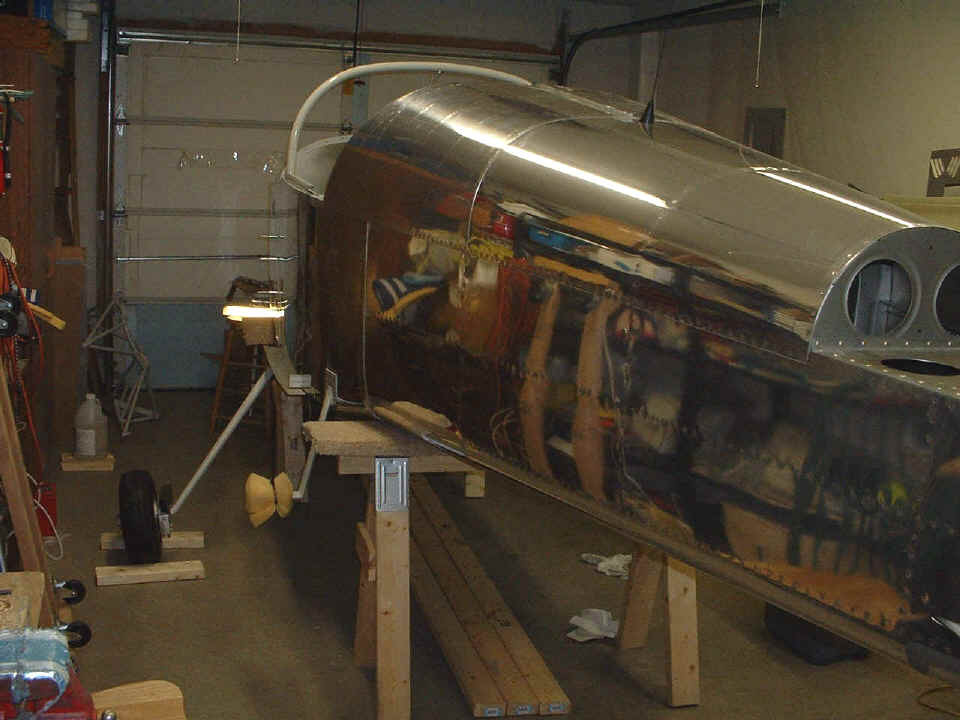
September 5, 2004: I rolled the fuselage up
on its side and cleaned it again. I wanted to do this one more time before putting
on the main landing gear legs, tires, and brakes.
Here you can see that I put long legs on the padded saw horses and got the
fuselage up high. I also installed both main gear legs and one wheel and brake
assembly. Today was 5.5 hours. Tomorrow, the
right wheel assembly will go on the other gear leg.
September 6, 2004 - Labor Day Holiday here in the USA.
I took the day to put in some time working on the airplane of course. I
finished the other wheel and brake assembly installation. My #30 long drill bit
broke the point off of it when I was drilling the second hole in the right axle to pin the
outside wheel nut in place. I did not take another picture of the wheel on the right
side since it is a mirror image of the photo above. Here is the engine mount
temporarily installed to check some clearance dimensions on the stuff on the firewall.
I also wanted to see what kind of clearance I would have when I am ready to install
the nose wheel gear leg to the engine mount.
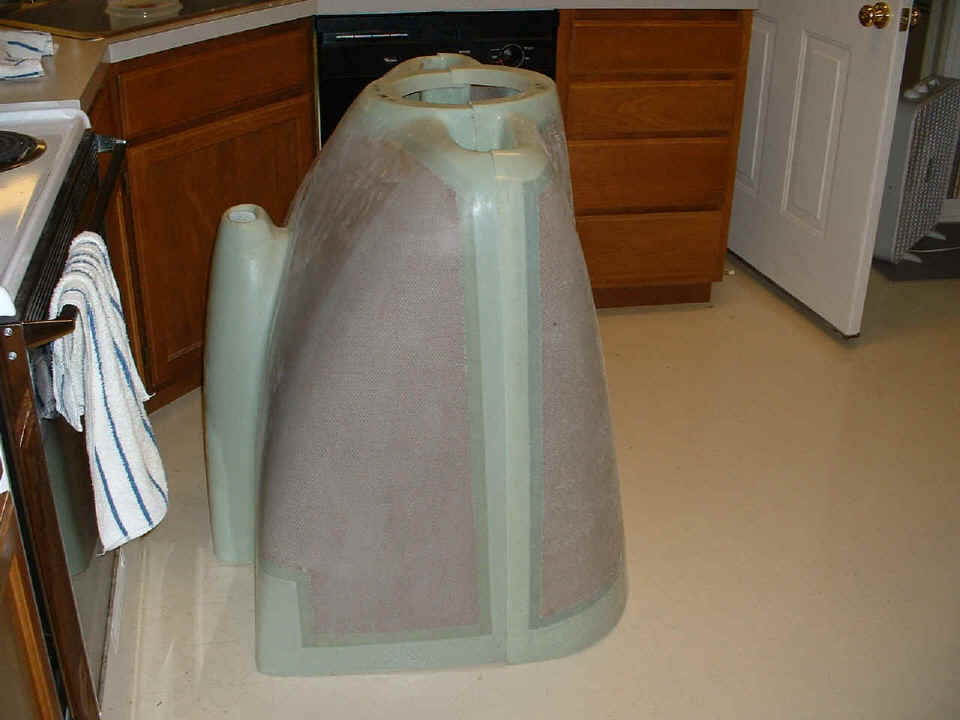
This is temporary storage location of my sliding canopy while I moved the
fuselage up on the tall saw horses.

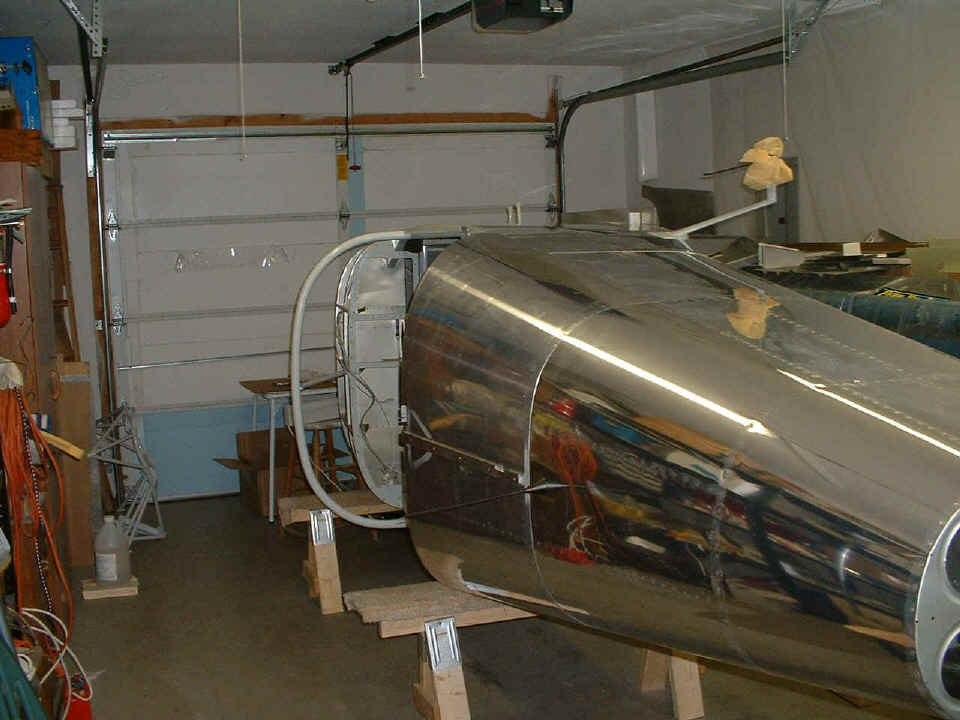
I put the two cowling halves together to get an idea of the length of the
hinges that Van's uses to hold this thing to the firewall. How many kitchens come
with a canopy and cowling? That door in the right of the picture below leads to the
garage (airplane factory). The box fan provides cool air from the residence area to
the work area.
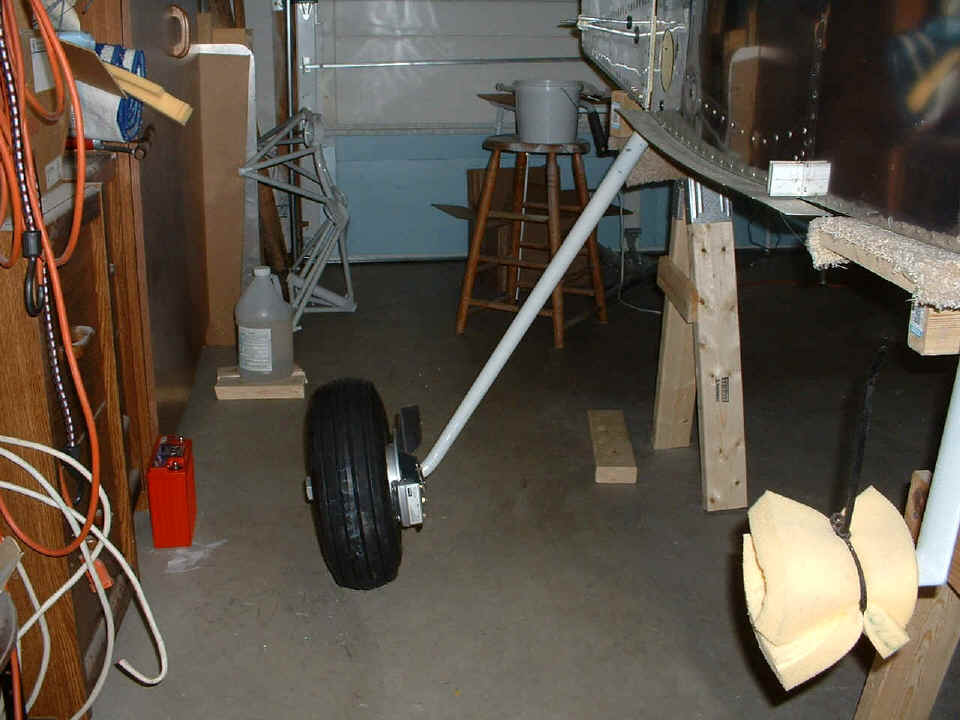
And here is visual proof the main tires are now on the floor. I noticed
that without the canopy installed, the airplane is almost balanced on the main landing
gear. That will change when the engine mount and nose gear are installed. I
have to get the cowling hinges match-drilled to the firewall before I can do any of that.
I feel another priming session coming on when the hinges and the other metal parts
for the cowling are fabricated. This will not be the last priming session, as that
should be when the engine baffles are completed.
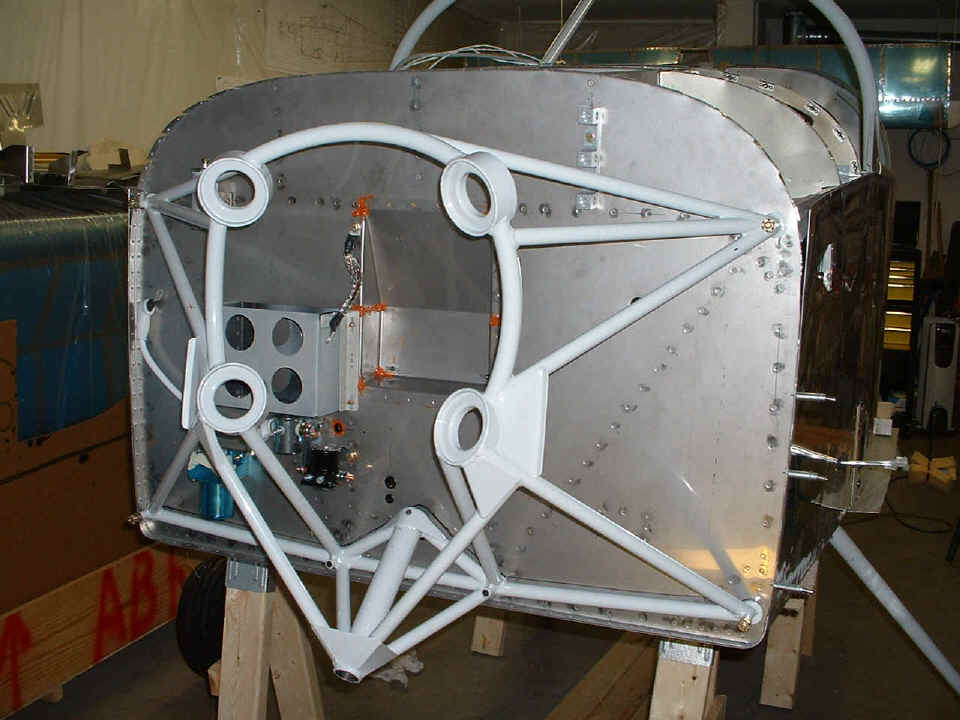
And the final shot for the day and this page shows the hinges drilled to the
left side and bottom of the firewall. That stainless rod that holds the hinges
together on the LEFT side of the photo is bent to its final shape. It will hold the
bottom fiberglass cowl on the RIGHT side of the fuselage. A similar hinge is already
on the other side of the fuselage. There are two hinges on each side of the bottom
edge of the firewall. The central area is not hinged since the shape of the bottom
half of the cowling allows for clearance of the exhaust pipes and air flow from the
cowling to insure engine cooling, etc. And yes, the battery is back in its box for a
few days. I wanted to get it off the floor so I would stop tripping over it.
Now I have to be sure to step over the wheels instead. That orange glow on the side
skin of the fuselage is the flash reflected off the skin onto another of my infamous road
signs and back to the camera via the side skin.
This is another one of those "milestone days" that I love so much. The next one will be engine delivery day! Add another 5.6 hours to the construction log book for this day! The current total work time on the entire project stands at 1259.9 hours. The airframe assembly time is 1190.9 hours.
| CLICK HERE for Firewall Forward Page 53. | RETURN to MAIN MENU |