FINISHING KIT - Page 41.
March 31, 2004: I once was told by an RV builder that building an airplane is a lot of little jobs that when completed, makes an airplane. The past couple of days have been just that, little jobs to fill the time until I can get on with the "milestone" jobs. I ordered some goodies from Van's to prepare wiring access and pump up the brakes with a MIL-spec aviation brake fluid, etc. The electronic fuel gauge was the big ticket item in this order from Van's. I also ordered a popular RV mod kit that allows a slider canopy like mine to tip up in the back for easy loading of baggage. I saw this feature on an RV-6A two years ago at Oshkosh 2002. I also bought some handles for the roll bar to make getting in and out of the cockpit much easier. Both these last two items are available at http://www.aircraftextras.com/ and you can see them there.
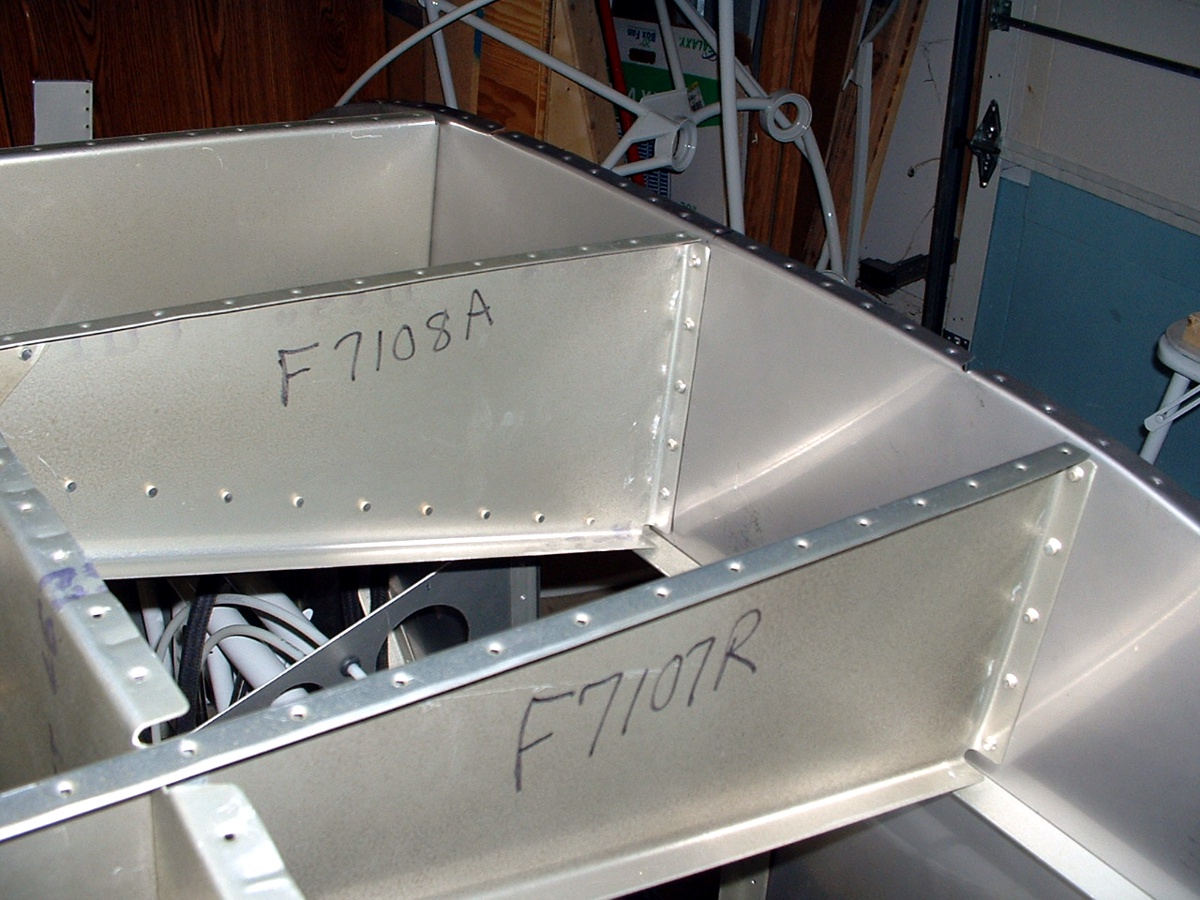
As for my little jobs, here they are. I had been concerned about the lack
of holes in the end of the center rib and firewall, so I called Van's help line and found
out that this little tidbit of information had been left out of the manual, but appeared
on some of the drawings, but no instructions to match-drill the holes in the rib and
firewall. After the call, I did the work of adding the five rivets you see below in
F7108A. The holes were missing from the firewall since they are not used in tip-up
canopy versions of the RV-9, only the sliding canopy models. Since the holes had to
be match-drilled to the rib, there were no holes in the front flange of the rib
either.
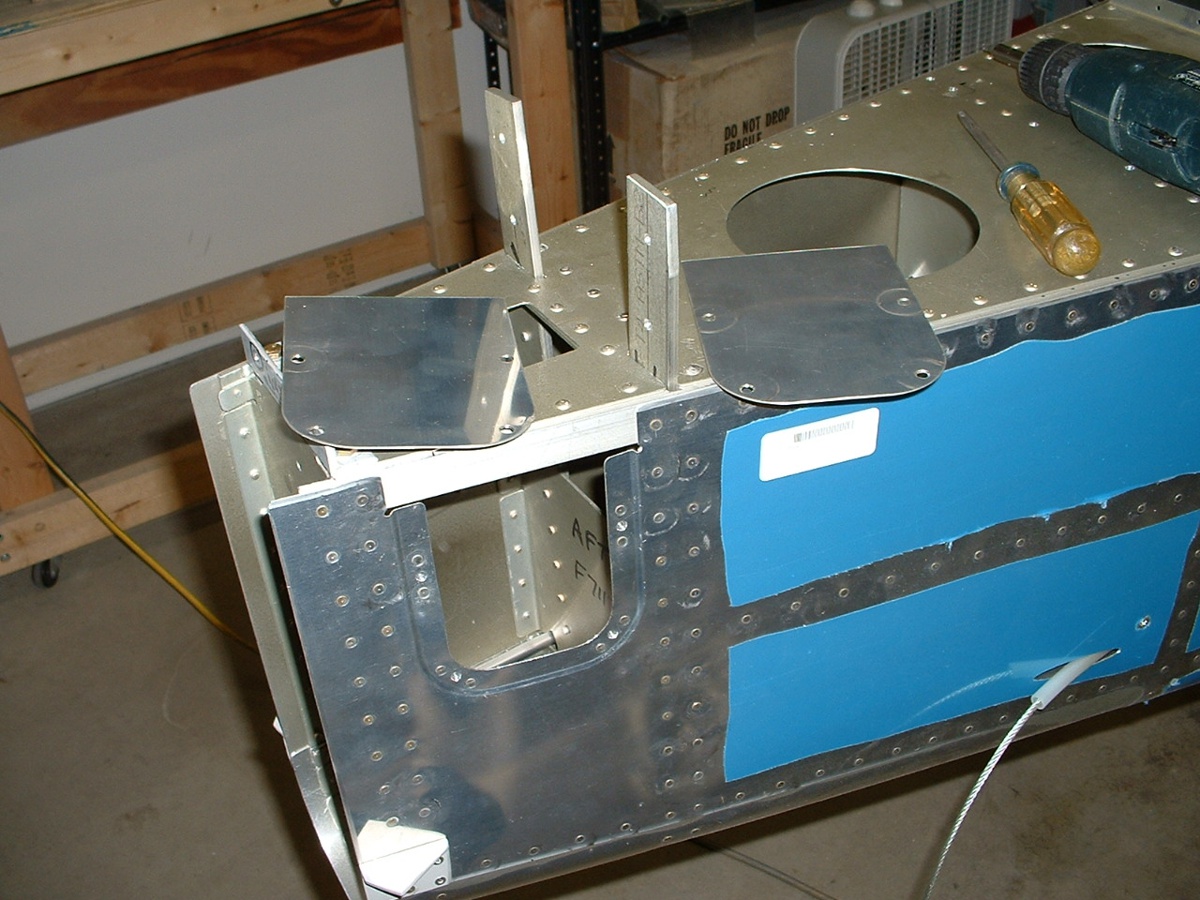
I got out the covers at the aft end of the fuselage and installed the platenuts
and countersinked the plates to accept the #6 screws that hold them in place. They
cover up the elevator push-rod where it ties into both elevator control horns. Those
access holes also permit installation of the bolts holding on the vertical
stabilizer. I also installed the screws and clamps that hold those plastic rudder
tubes in place. And after all these months, I noticed a rivet missing on this side
of the fuselage on the last bulkhead - it was put in today also.
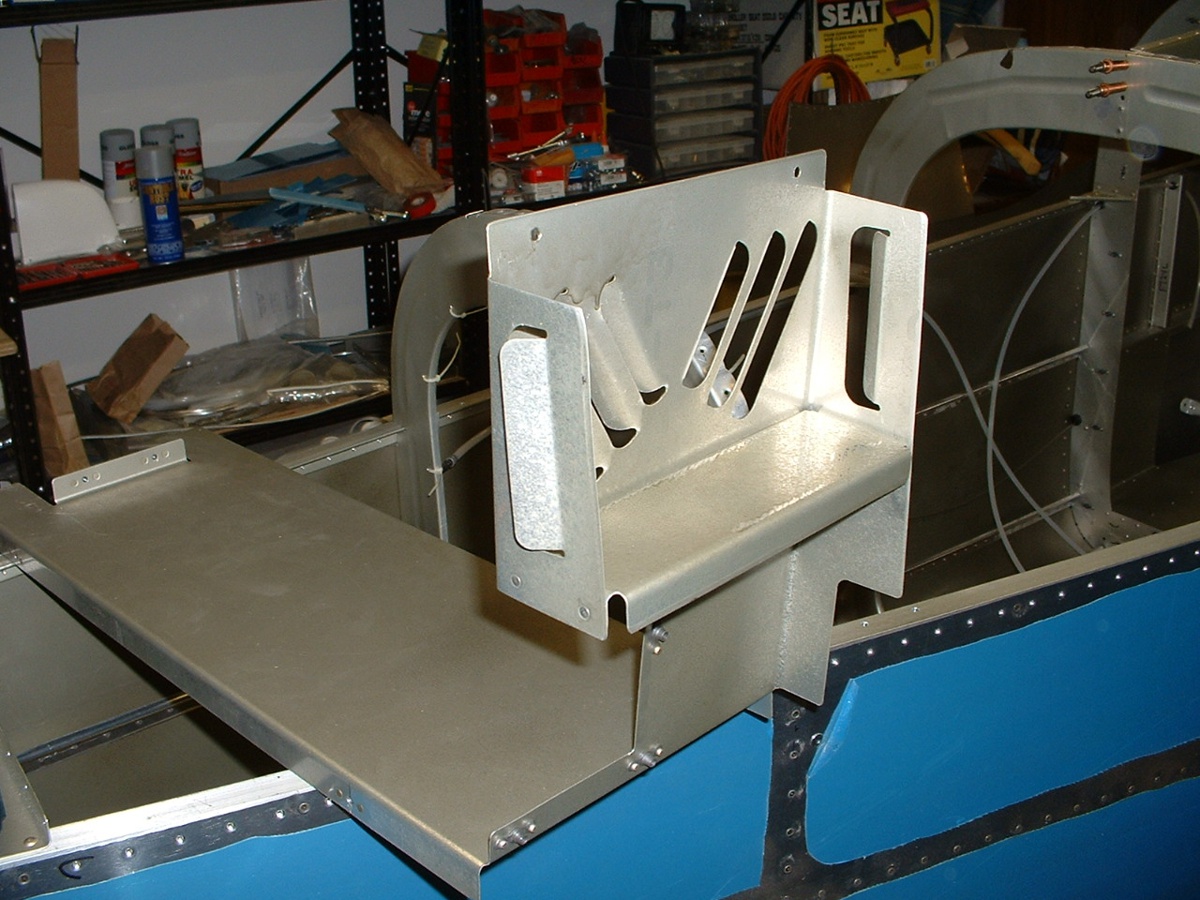
I riveted in the heat baffle in the center floor cover and bent the louvers out
to allow warm or cool air to enter the cabin.
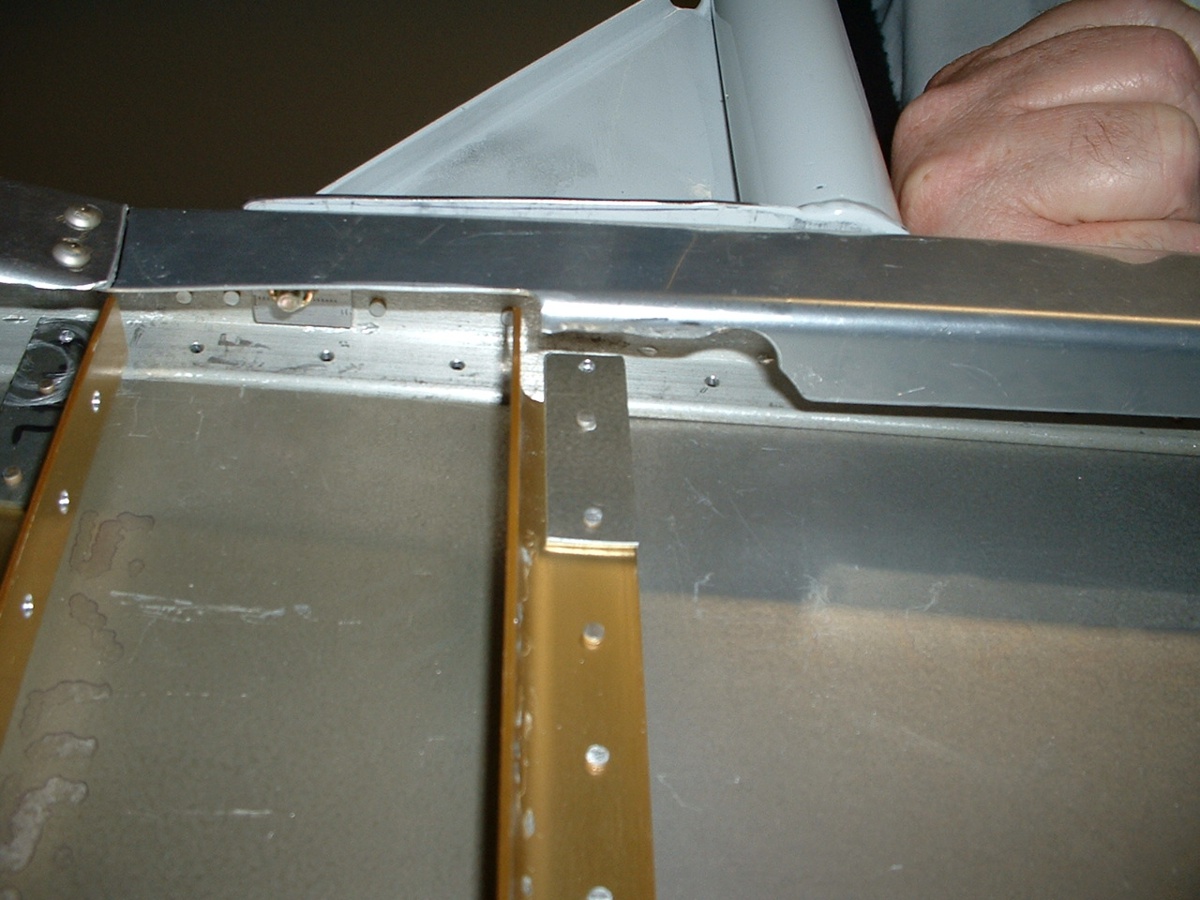
The fuselage was on both sides today to get some cleaning done and to open up
some access to the rear bolts that hold the roll bar to the longerons. I got out my
hand nibbler and the Dremel sanding drum to clean up the burrs. It sure is easier to
get the nuts and clamps in place with the extra metal removed. This is looking
up at the RIGHT side of the canopy. I had a mirror on the main spar that allowed me
to see the viewing screen on the back of the camera while I took this picture with the
camera in my left hand. The 3/16" bolt and nut are visible, but the 1/4"
bolt is not seen.
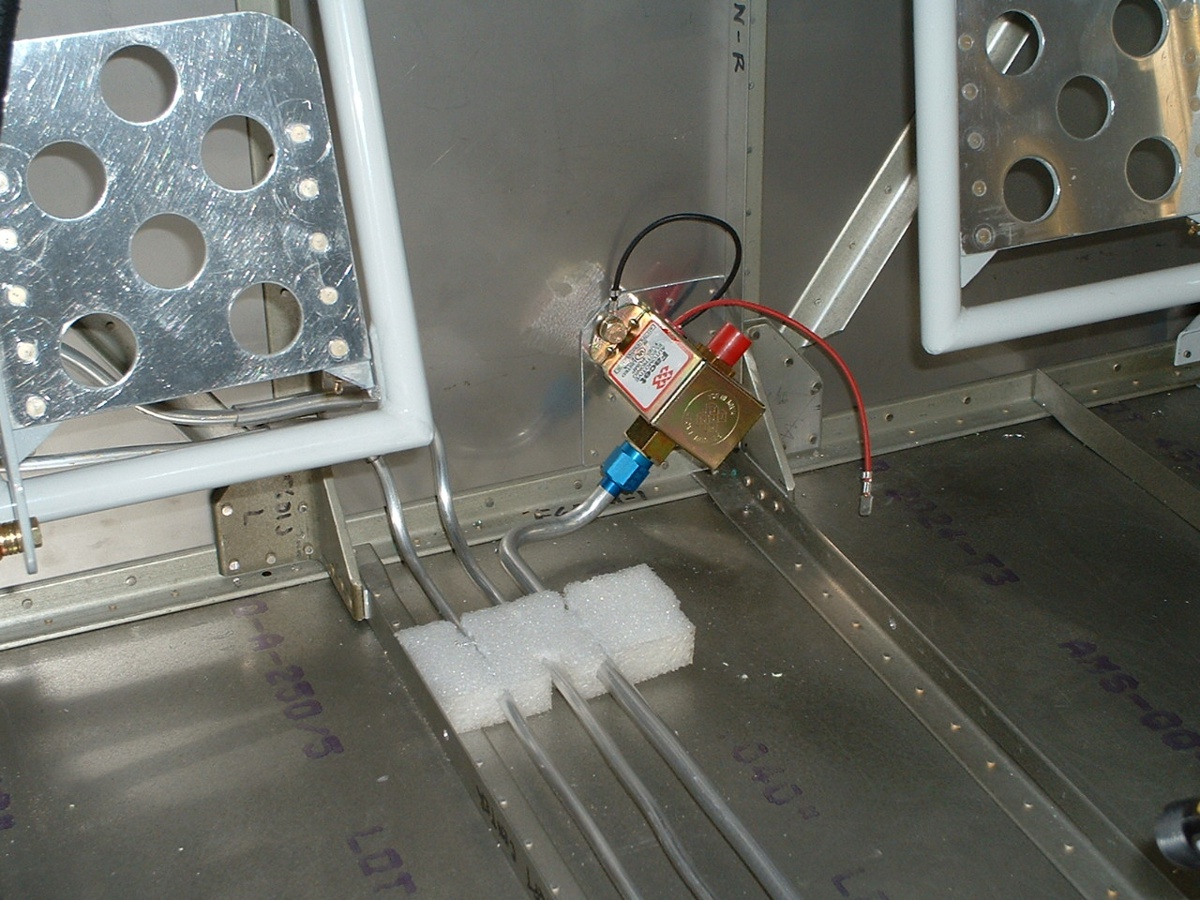
I also tied the ground wire from the electric fuel pump to one of the bolts
that hold it to the firewall. The sponge spacers have now been removed from the
brake lines and the fuel line in the center of the photo below. Only the
polyethylene foam spacer blocks remain.
As of today, the total kit construction time stands at 1031.7 hours. An additional 69 hours of prep time gives a total of 1100.7 hours on the project.
April 17, 2004: I have been away on business
for two weeks and finally got a chance to put in 3.1 hours today. Here are the new
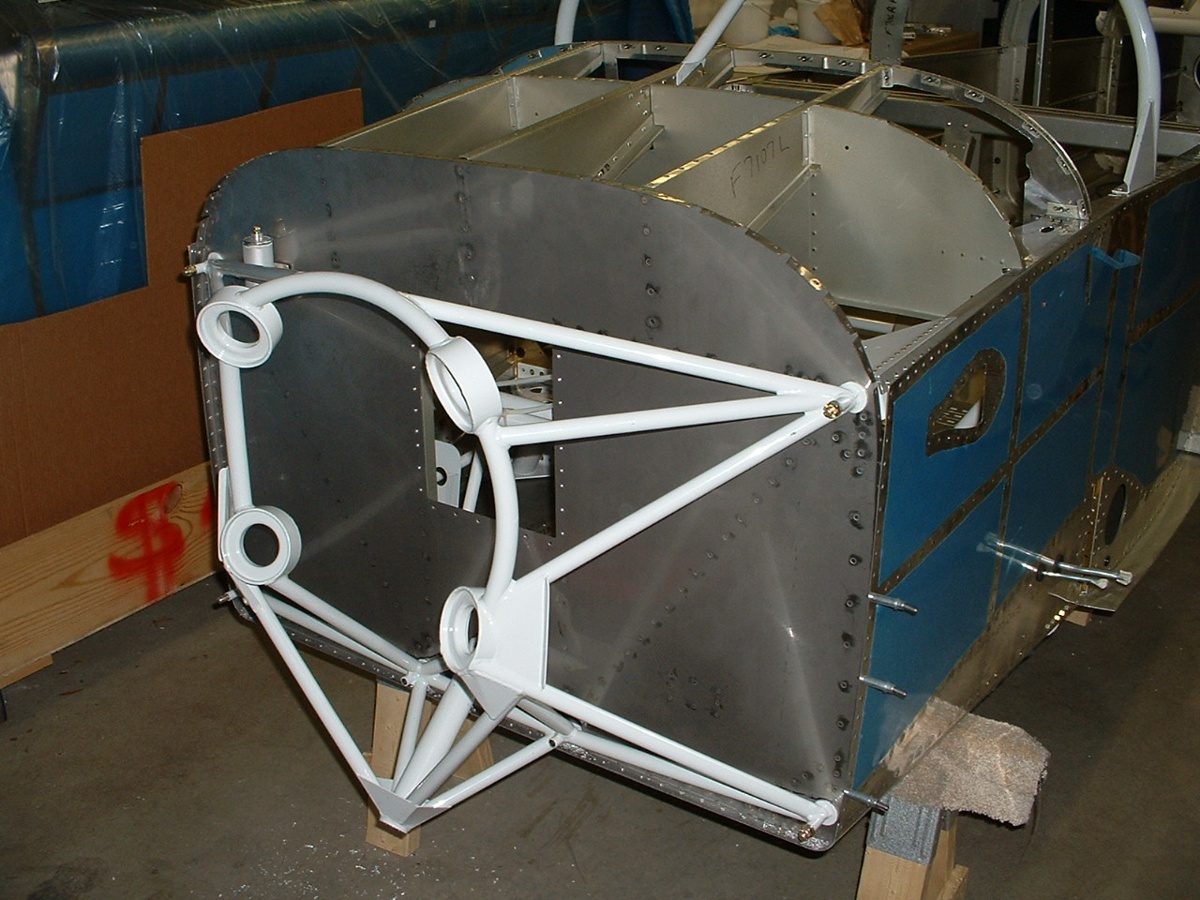
photos showing my work on the firewall fitting the engine mount and nose gear leg.
The firewall had four pre-punched holes for the four outer bolts. I enlarged those
holes to 3/8" and hung the mount on the firewall. This left two more holes to
be drilled near the nose gear attachment weldment at the bottom center of the mount
assembly.
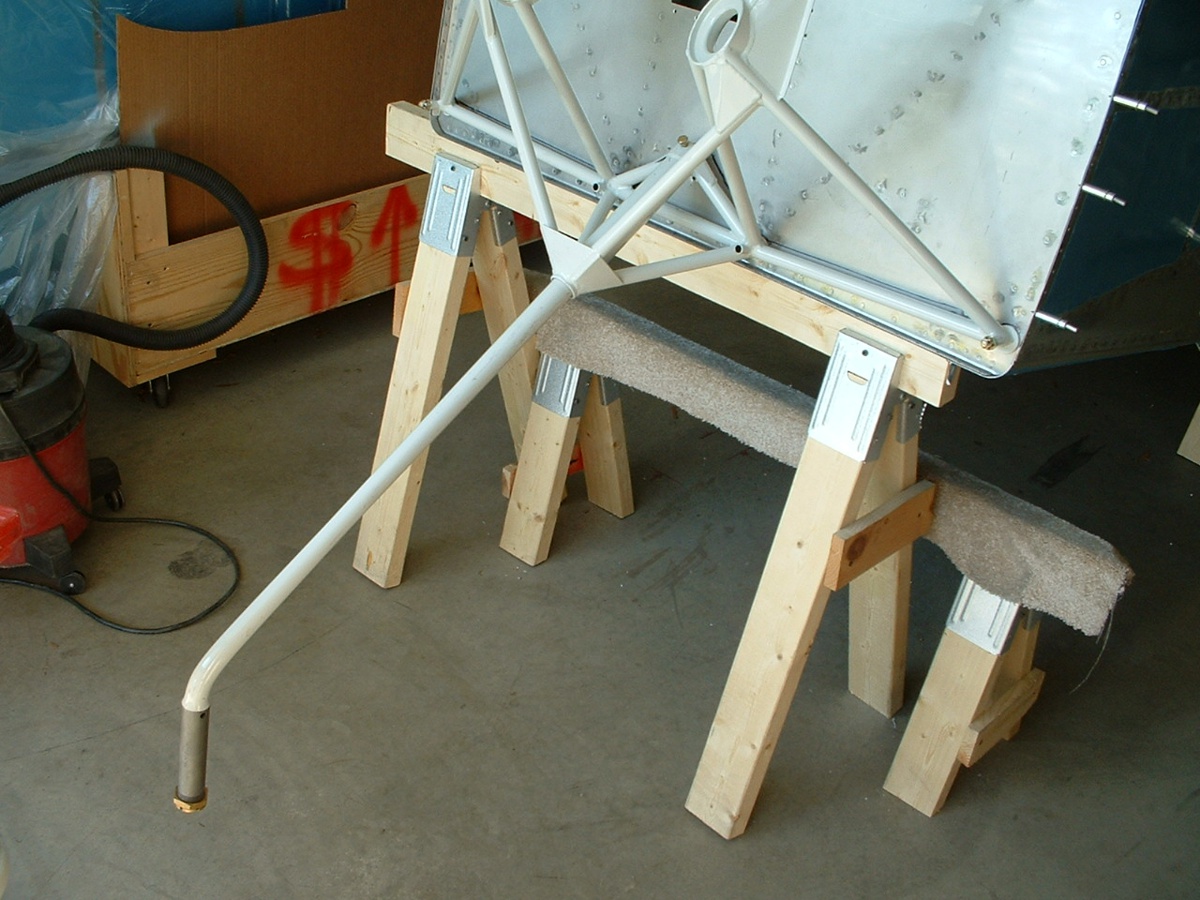
Next came the match-drilling of the 5/16" bolt holes through the weldment
and the hole in the nose gear leg. As you can see, I had to get my tall saw horse
under the front of the fuselage to get the clearance for the nose gear leg above the
garage floor.
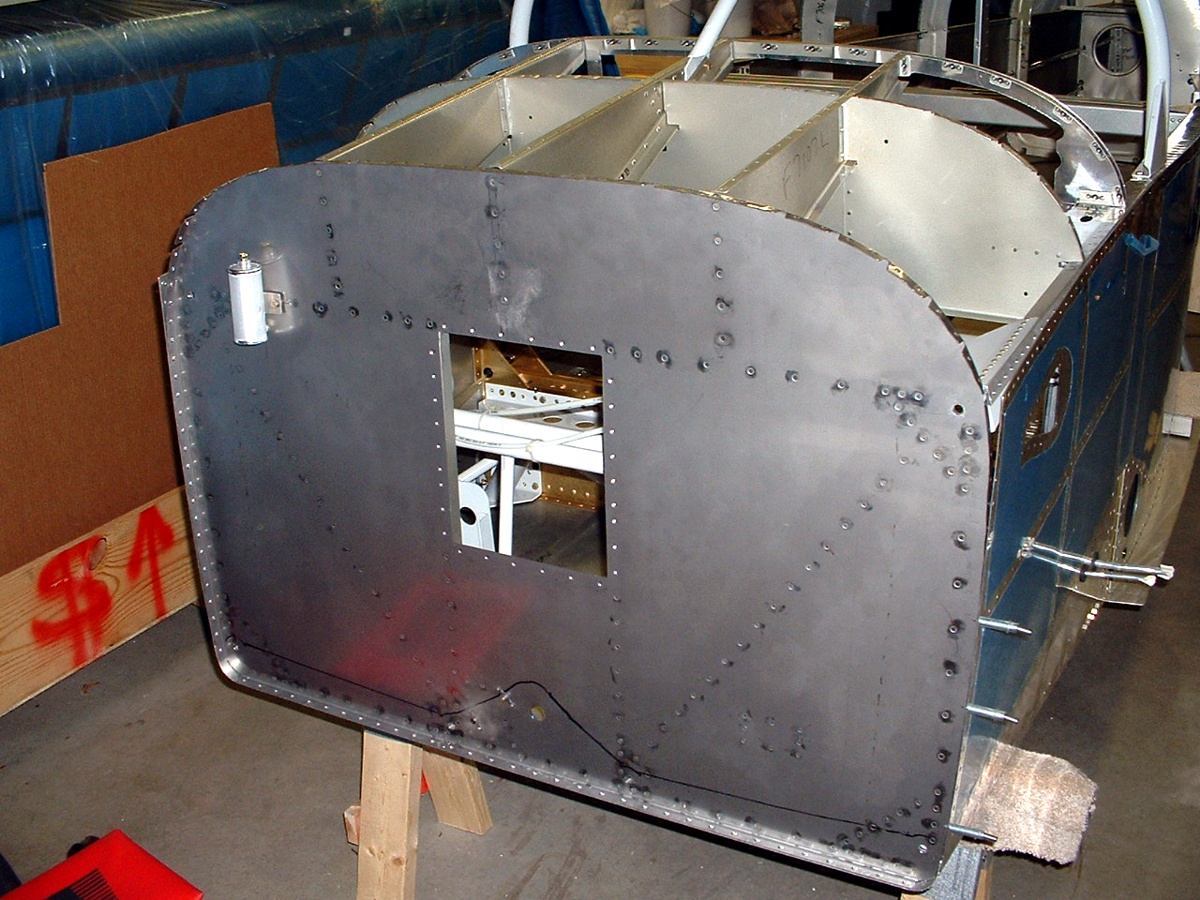
And here is the firewall after drilling the access hole to install the nose
gear retaining bolt when everything is done in final assembly. You can see that I
have also drawn a line across the bottom front of the firewall to remind me where the
engine mount is placed. That 3/4" access hole is located about three inches
above the bottom center of the firewall.
I also received the two kits from aircraft extras and the items I ordered from Van's to get the fuselage ready for the upper aft skins to be riveted into place. That will let me get some serious work done on the canopy mechanisms. The temperature is getting up in the 80's and that is what I will need to safely cut the canopy apart into the windshield and the slider section.
| CLICK HERE for finishing kit page 42. | RETURN to MAIN MENU |