FUSELAGE CONSTRUCTION - Page 20.
August 20, 2003: It seems appropriate to
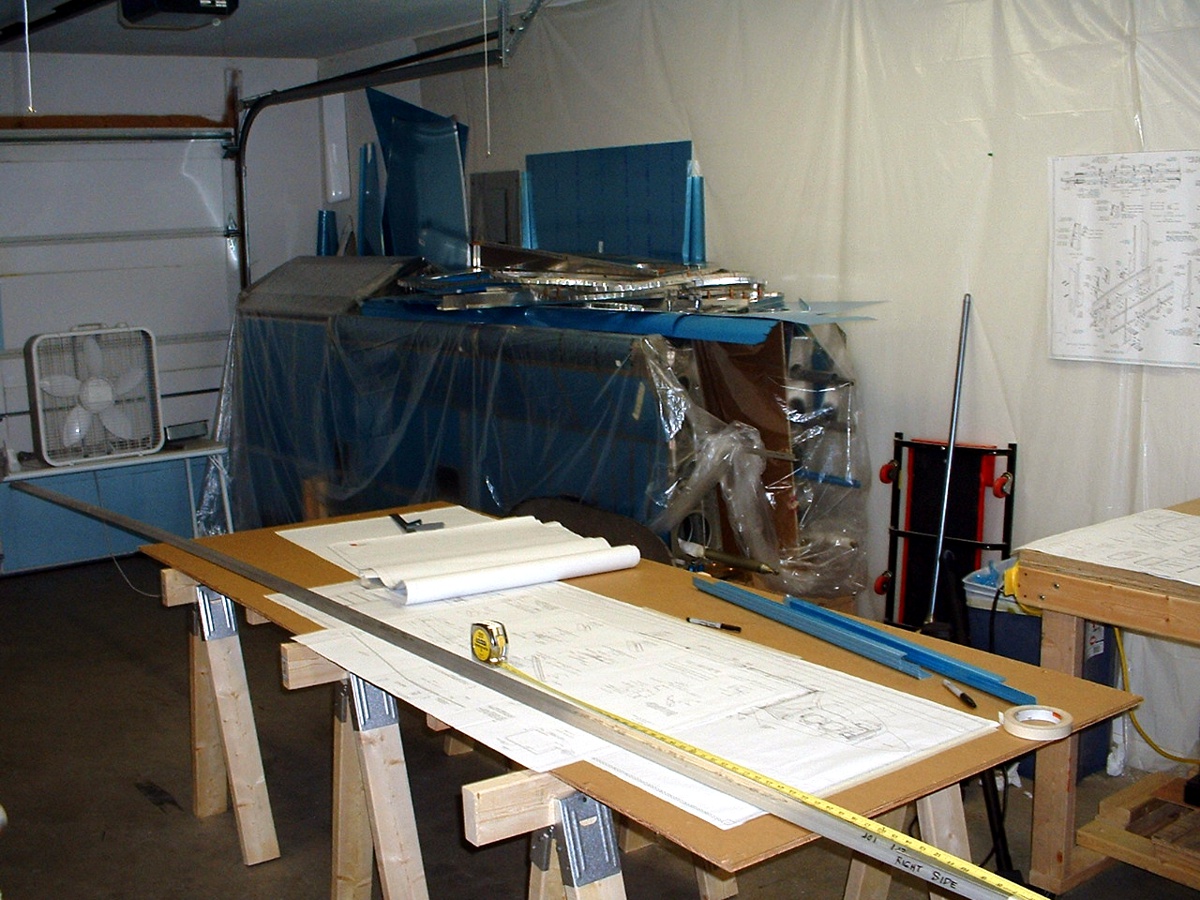
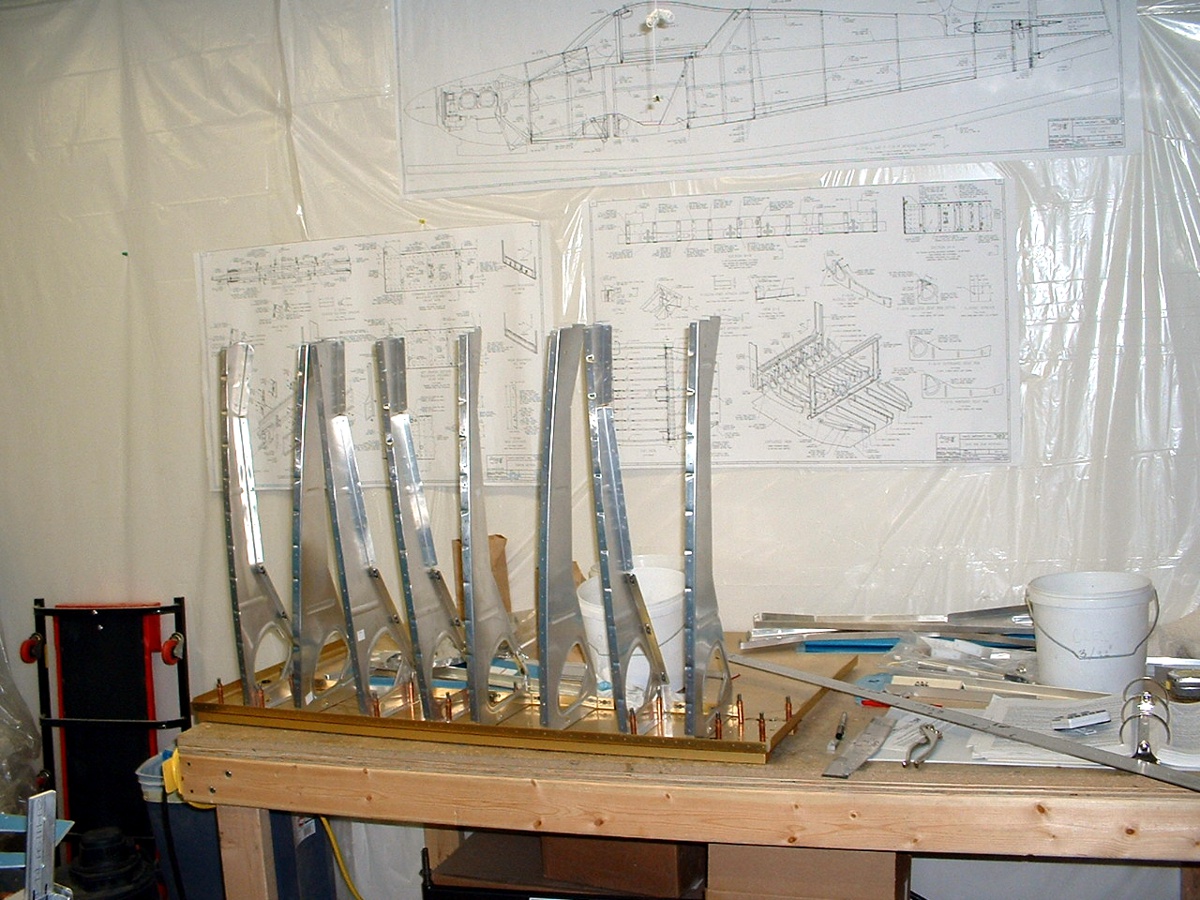
start on page 20 on August 20. I finished making all the parts for the remaining
bulkheads in the aft fuselage section. I put them all aside on the wing storage area
atop the aft fuselage side panel skins as you can see in the photo below. I also set
up my three saw horses and put the lid from the large fuselage crate on the saw horses to
serve as a temporary work table. The longerons have been marked for the bend and
twist areas and I will begin that process in my next work session.
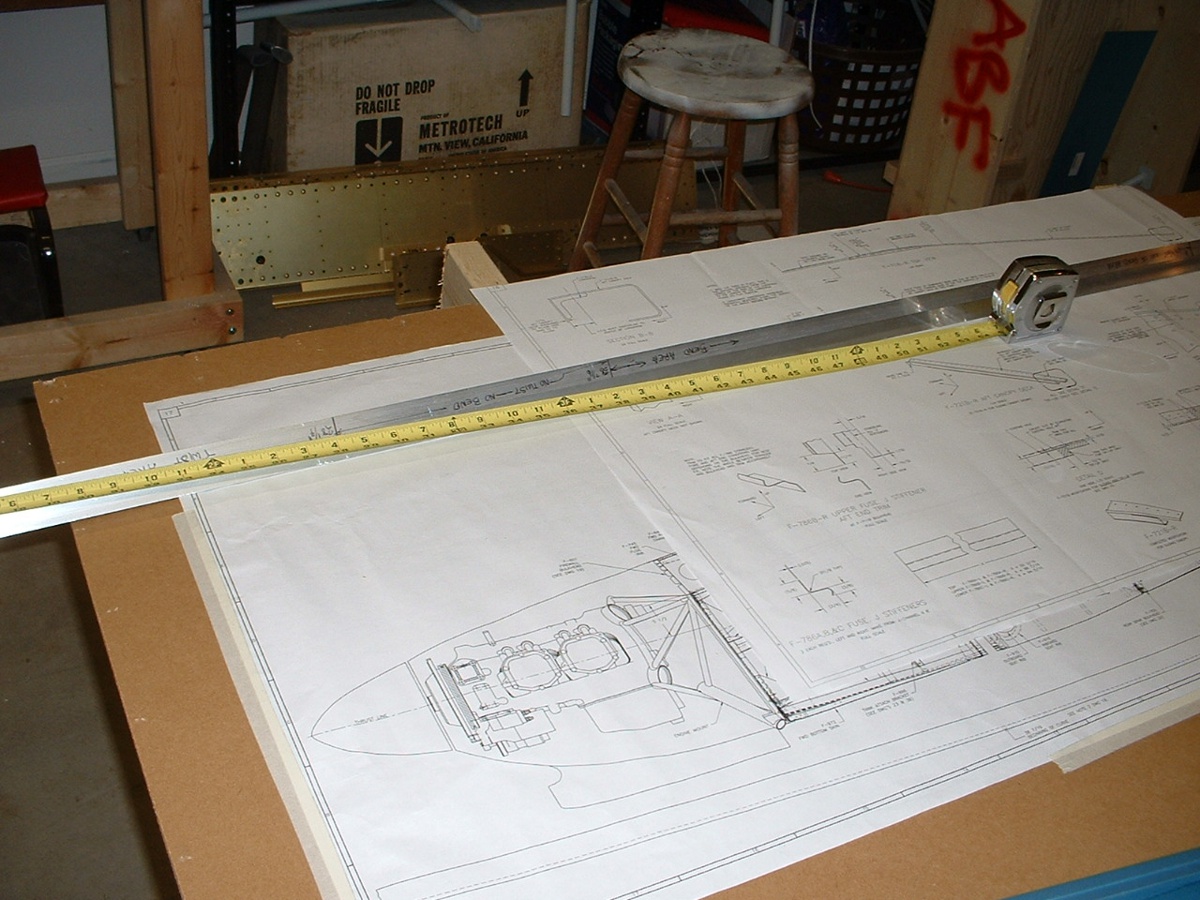
You can see in the photo below that I have marked the bending and twisting
areas on the longerons. These aluminum angles shipped with the wing kit and have
been quietly stored away until today. I am going over to the Huntsville, Alabama
area for a meeting of the TVRVBG flyers
and RV builders on August 21st. My friend David
Edgemon is hosting this meeting and his RV-9A project will be the focus of the
meeting. I want to look at his bent and twisted longerons that are already riveted
into his fuselage to be sure that I get mine correct on the first try. The large
drawing in the photo below has the gentle curve drawn full scale below the side view of
the entire fuselage in reduced scale. I have the tail dragger print on my temporary
work table to use in this longeron bending exercise. The similar drawing for the
RV-9A "tricycle gear" aircraft that I am building is stapled on the garage wall
above my work bench.
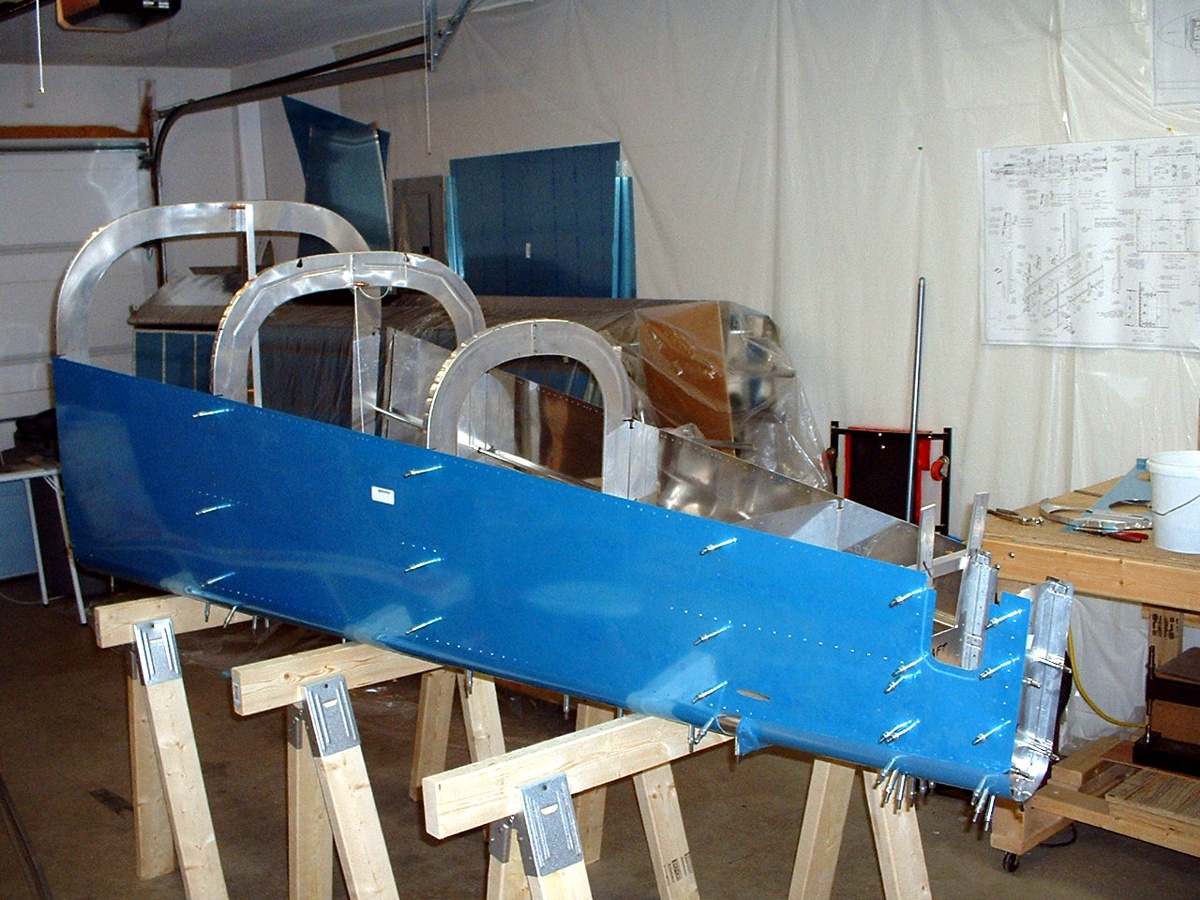
August 22, 2003: I bent the longerons to shape
today, then cut the J-stringers for the aft fuselage cone section. I realized after
the first trial fit of all the skins and the stringers that there was a "catch all
note" in the plans that the stringers may have to be cut to fit. Yeah, that's
true. One pair fit perfectly, the others need a few modifications. Here is the first
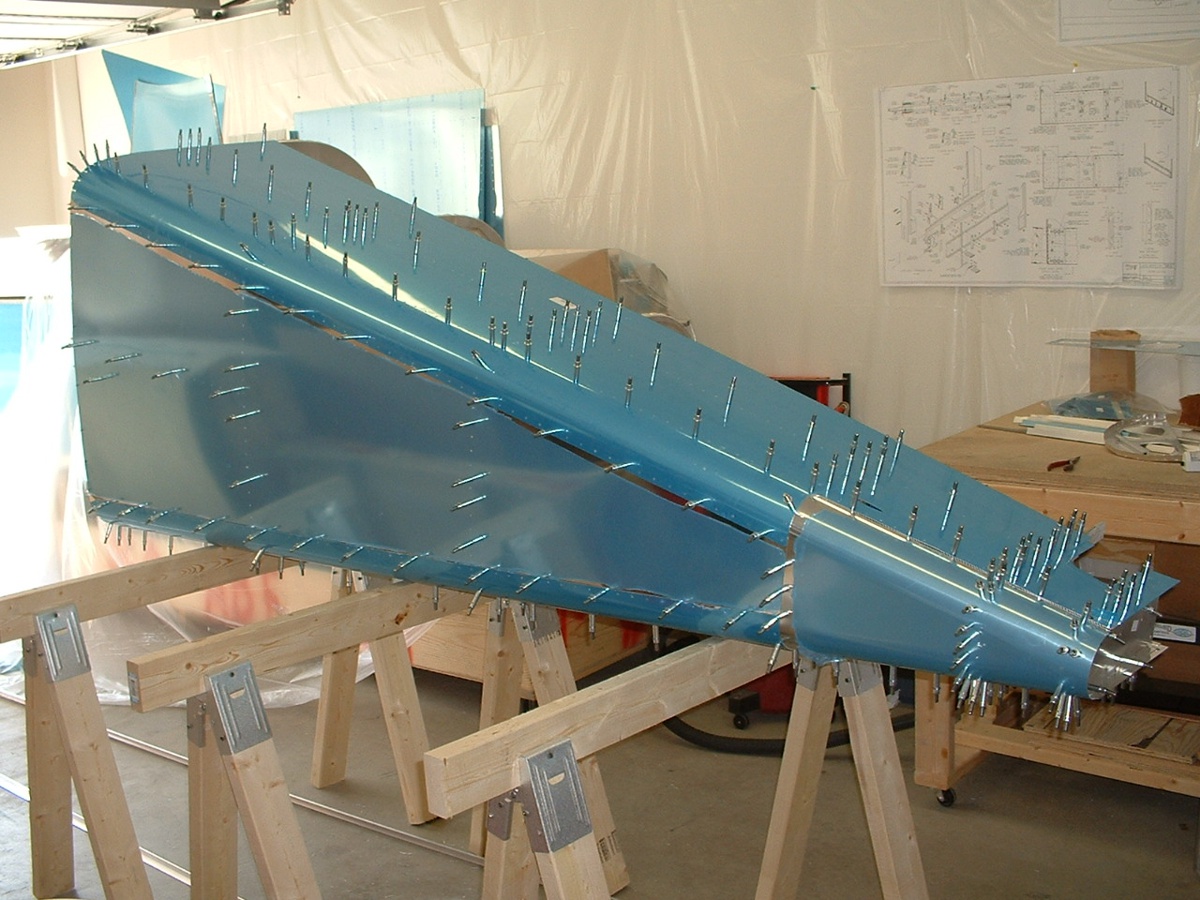
picture of something that starts to resemble a fuselage.
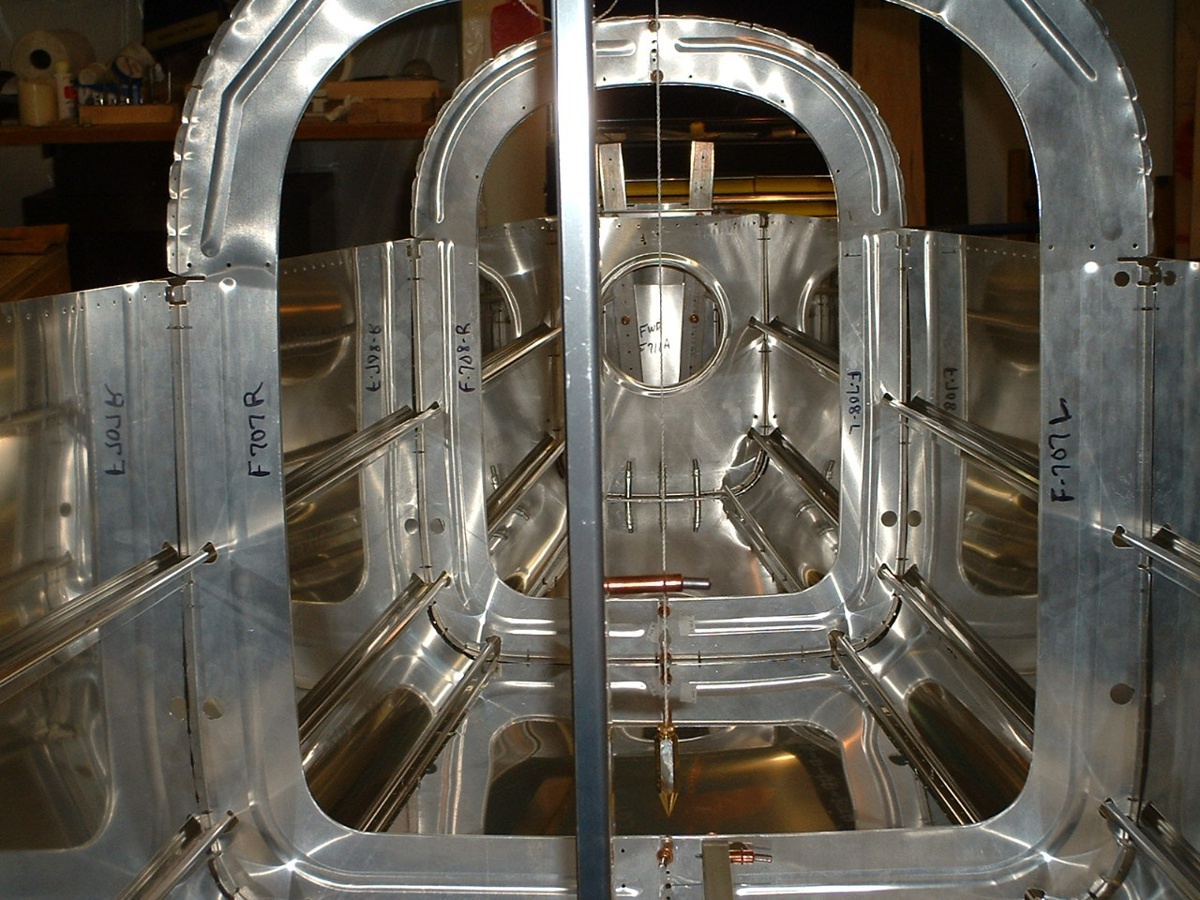
The manual suggested getting out the plumb bob to see that there is no twist to
the fuselage section before drilling the "J-Stringers. This next picture proves
just how well the pre-punched kits are manufactured -- it is absolutely straight.
When I lined up the string with the center line on the last bulkhead, the intermediate
reference points were all "in line".
It was a good day! Total construction time is 617.7
hours to date since the construction began on October 28,
2002.
August 23, 2003: Saturday's are good days to
get a lot done. This also was a good day to get the aft-fuselage section completed
for the initial assembly. I got all the J-stringers finished and drilled into place
with all the skins and ribs of the lower aft section. I also put the longerons in
place long enough to verify the fit, then cut the notch in them for the horizontal
stabilizer connecting bars. I even put the aft-deck plate in place, but drilled no
other holes in the longerons -- today. This whole section is now ready for
disassembly, dimpling, deburring, and priming before reassembly.
I had a chance to prepare all the seat ribs and clecoed them to the F904 aft
bulkhead where the wing spars attach. That was enough for the day. I will be
on the road a few days this week, so this is where it will all sit until I return.
August 26, 2003: I had a chance to review the entire web site while I am on the road and made some minor changes to the text here and there to clean up my grammar, etc.
Before I left home on Sunday, August 24th, I had about 30 minutes to cleco the next bulkhead to the ribs shown in the photo above. I also got out the bottom fuselage skin that is under the seat ribs and baggage ribs to cleco them all to the skin. Sorry, I did not take a picture of them at that time, but I was running off to the airport and my digital camera was already packed in my bag in the car.
| CLICK HERE for Page 21. | RETURN to MAIN MENU |