I will take the RIGHT wing off the construction jig when I have done a final pressure check of the fuel tank and mount it to the wing. Hopefully, that will be in my next working session.
WING KIT CONSTRUCTION - Photo Page 16.
August 5, 2003: The fuselage shipment shows
up on the ABF web site. I will keep you posted as it rolls toward my place. As
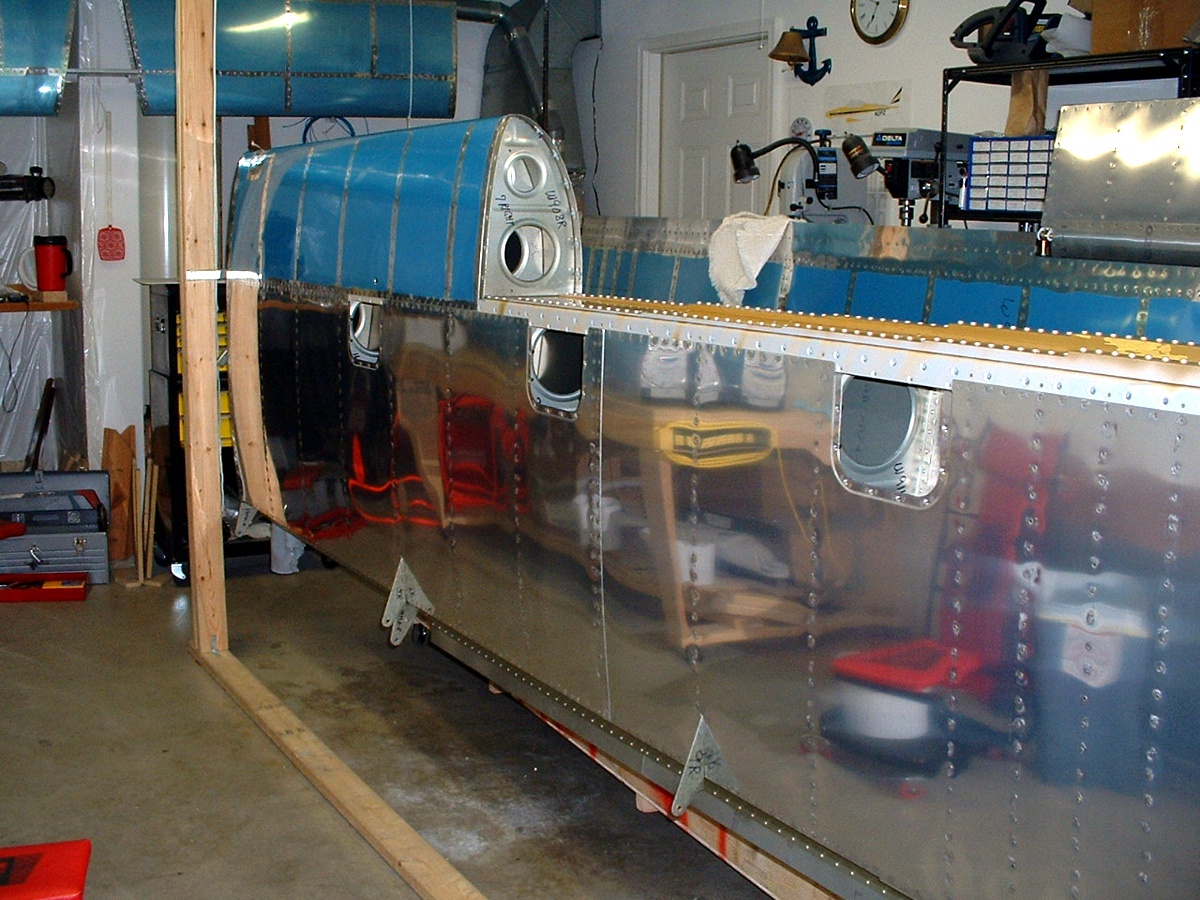
you can see in the photo below, the RIGHT wing now has all its wing skins riveted in place. I
rechecked the wing and it has 3/32" twist from root to wing tip. The twist is
half of what Van's says is permissible. The twist, however slight will mean the wing
tips will stall last on landing. I know, that is such a small twist to even be
concerned about. I once built a 6' wing span radio controlled model which had a
twist designed into its wings just for those handling characteristics. Yeah, I will
get the RC model out of the closet and photograph it for you very soon.
I will take the RIGHT wing off the construction jig when I have done a final
pressure check of the fuel tank and mount it to the wing. Hopefully, that will be in
my next working session.
The other photo shows the inboard ends of both fuel tanks. The fuel drain
ports are clearly visible. I mixed up the sealant and put it on the screw threads
and the cork gaskets to insure a good tight tank. The large blue fitting in the
round plate is the fuel line. The smaller blue fitting in the end rib is the vent
line. The BNC connector is from the internal fuel sensor plates. There are no
float-type fuel sensors in my tanks. I have opted for capacitive fuel sensors and an
electronic fuel gauge system.

August 6, 2003: The fuel tanks tested
perfect with no pressure loss in 2.5 hours. I have installed the fuel tank on the
RIGHT wing and put it into the storage cart after taking the picture below. All the
bolts and screws are installed in the fuel tank to secure it to the wing.
The ABF truck containing my fuselage crates is in Salt Lake City, Utah as of 9:15 PM Eastern time on August 6, 2003.
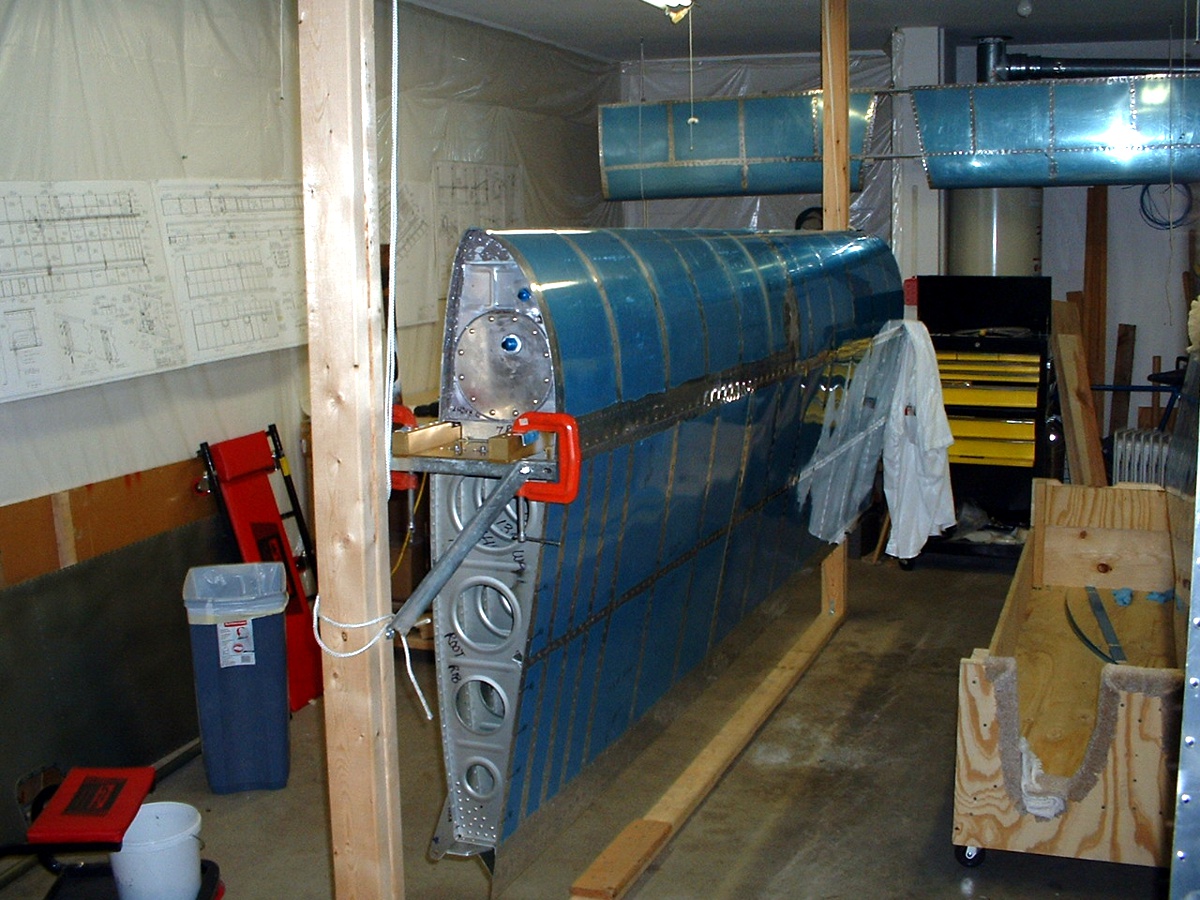
August 7, 2003: The LEFT wing is now up on the
wing construction jig for the last time. Here is the wing leveler servo installed in
the LEFT wing. I held the camera upside down and pulled the wing skin back out of
the way to get this picture. I have started riveting the last
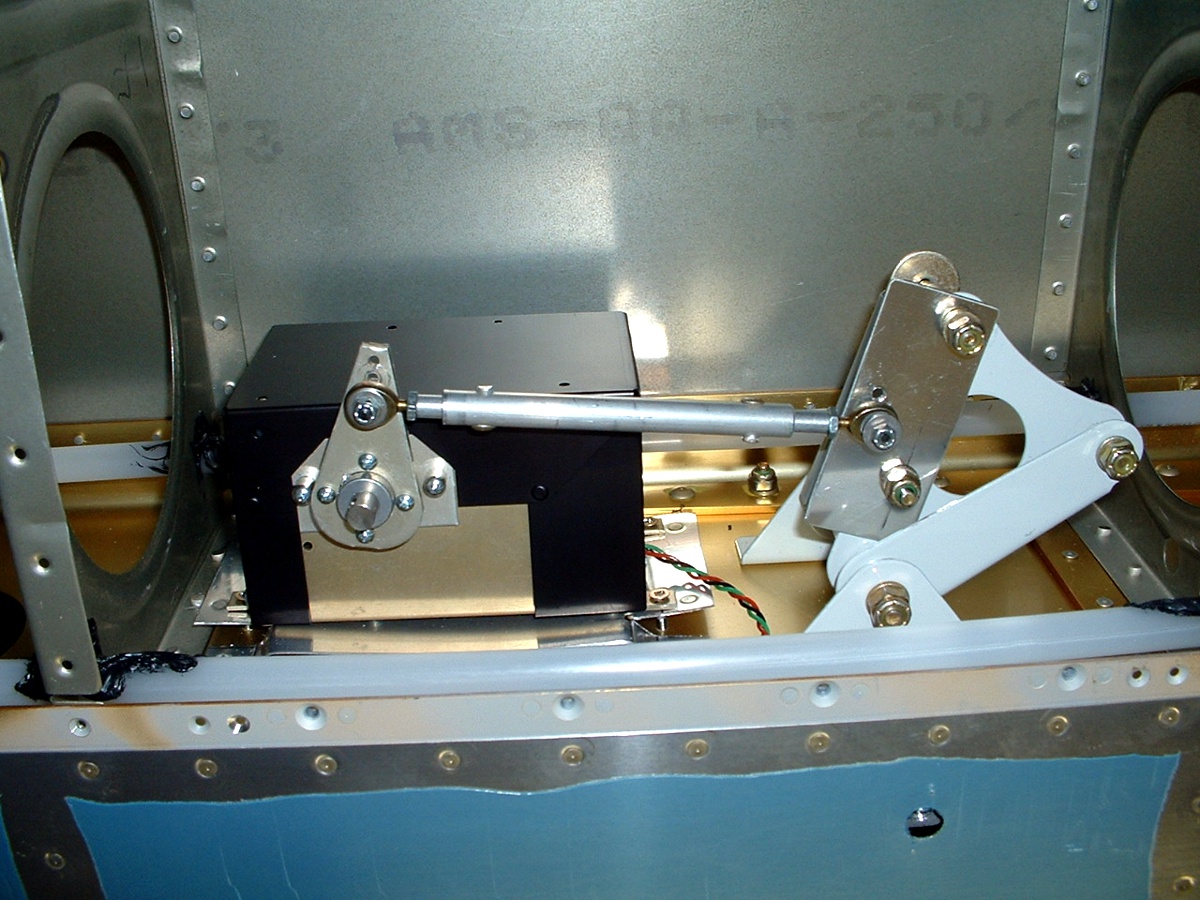
bottom skin onto the LEFT wing. You can see that I have cut away the excess
aluminum on the bellcrank interface plate that I made. I also drilled a second hole
a bit closer to the bellcrank pivot bolt to prevent the servo arm from hitting the stops
before the ailerons hit their stops. I had a chance to hook up power to the
controller and the servo to see if it could lift one aileron without the other aileron
linked to it. The servo has the power to do just that. It will be easier when
both ailerons are linked and counter balance each other. I want to also point out
that the aileron was pointing straight up at the time of the test, that is not the way it
was intended to balance or work and therefore there was a heavier load on the bellcrank
arm.
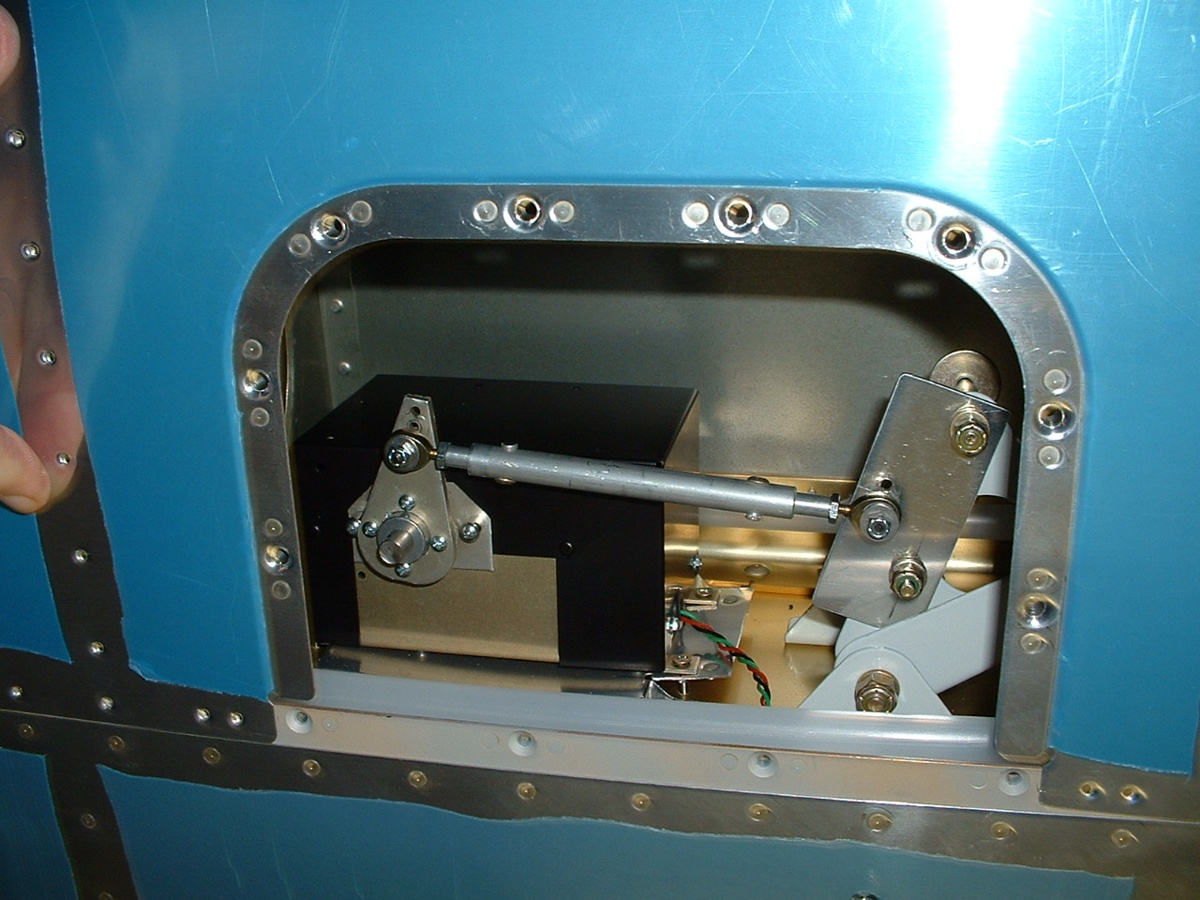
Here is a shot of the servo as seen through the wing access panel. And
yes, I verified that I could remove and install it through the access panel a few days
ago.
The ABF truck carrying my fuselage kit is now enroute from Albuquerque, New Mexico to Weatherford, Oklahoma near Oklahoma City. It is due to arrive at the Oklahoma terminal around 9:15 AM EDT on Friday, August 8, 2003. For now, it looks as if the shipment will be delivered on time, Monday, August 11th. I will finish riveting the last wing skin on the LEFT wing this weekend and get the shop ready to accept the fuselage parts.
| CLICK for fuselage preparations page 17. | RETURN to MAIN MENU |