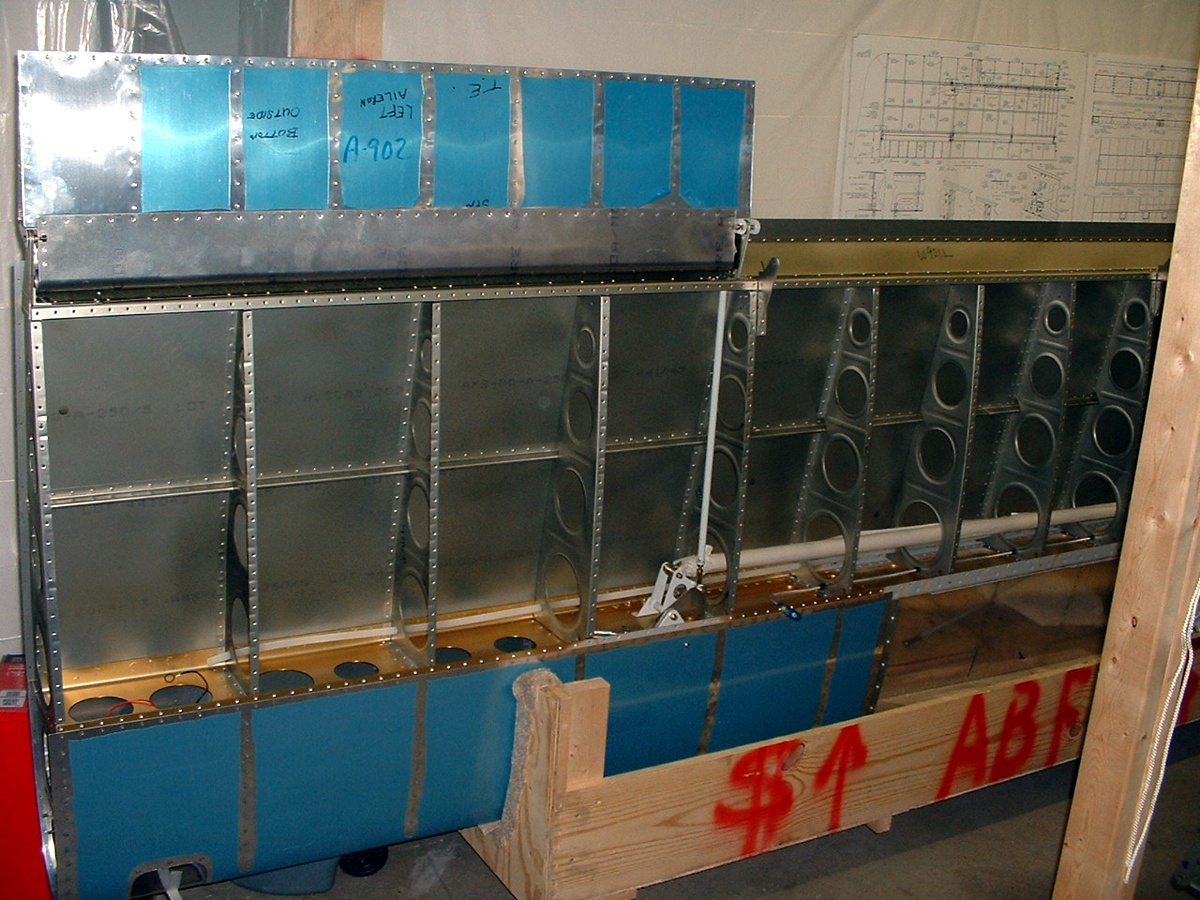
WING KIT CONSTRUCTION - Photo Page 13.
June 28, 2003: I also had time to put the
aileron on the LEFT wing and calibrate the aileron push rod to a neutral position.
The pitot tubing was installed in the wing along with a conduit for electrical wiring of
lights and wing-leveler (to be installed much later).
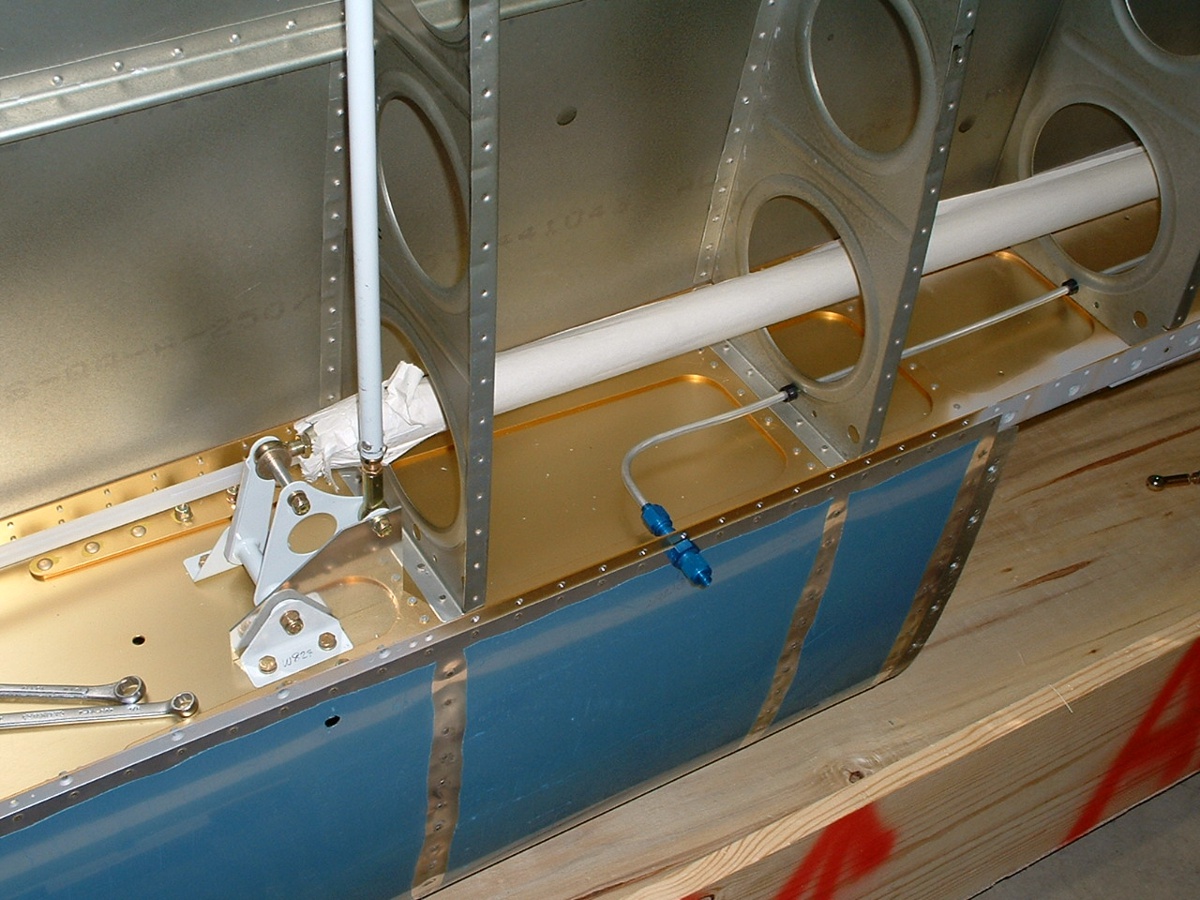
You can see the aileron alignment jig is temporarily attached to the aileron
bellcrank on the left side of the photo. The pitot tube plumbing is in place in the
center and right side of the photo. The aileron push rod that runs from the
bellcrank to the fuselage is wrapped in paper to protect the primer from being scraped off during
remaining construction. I will rip all the paper off except for the inboard rib area
before installing the bottom skins.
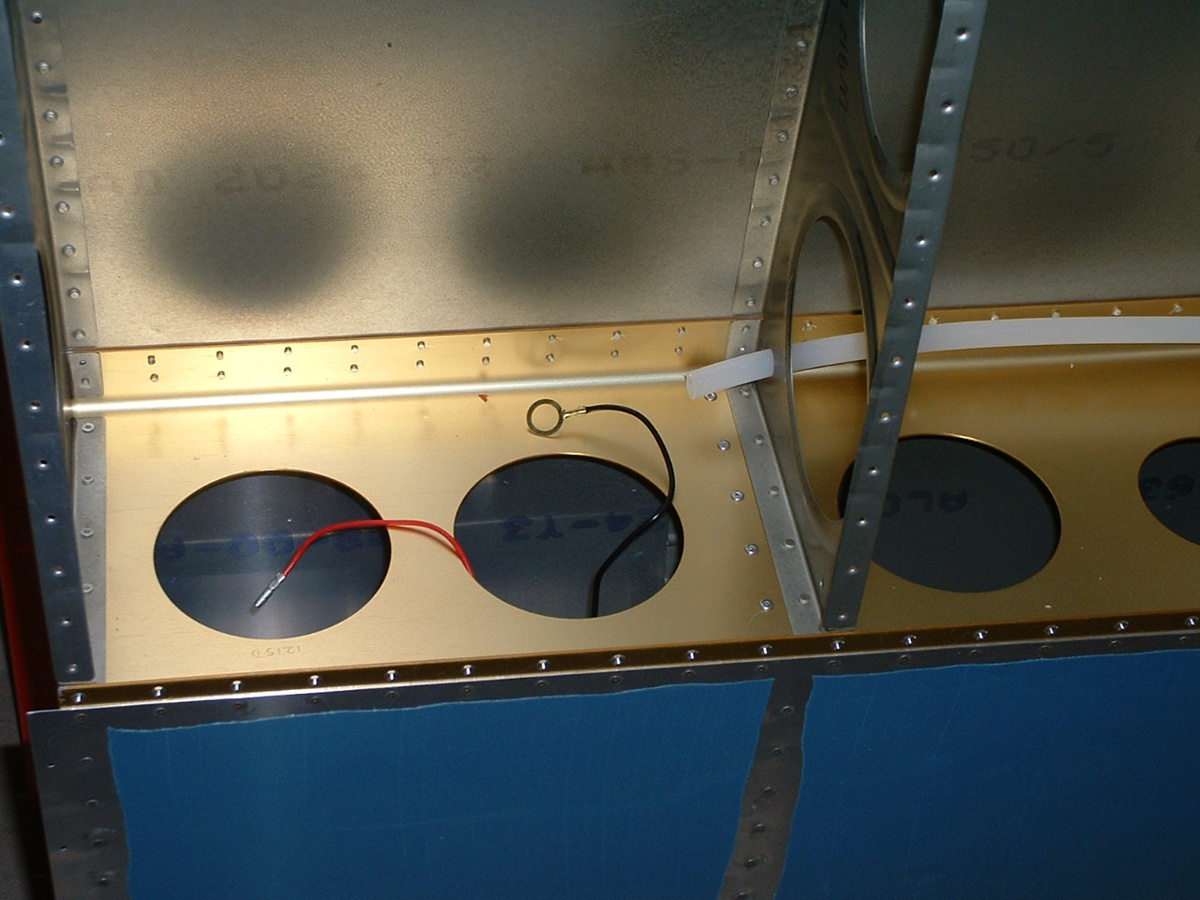
And here is the end of the electrical conduit for the lights. I have to get
a different ground lug for the LEFT landing light and bond it to the main spar. The
red wire is for the +12 volts to the landing light.
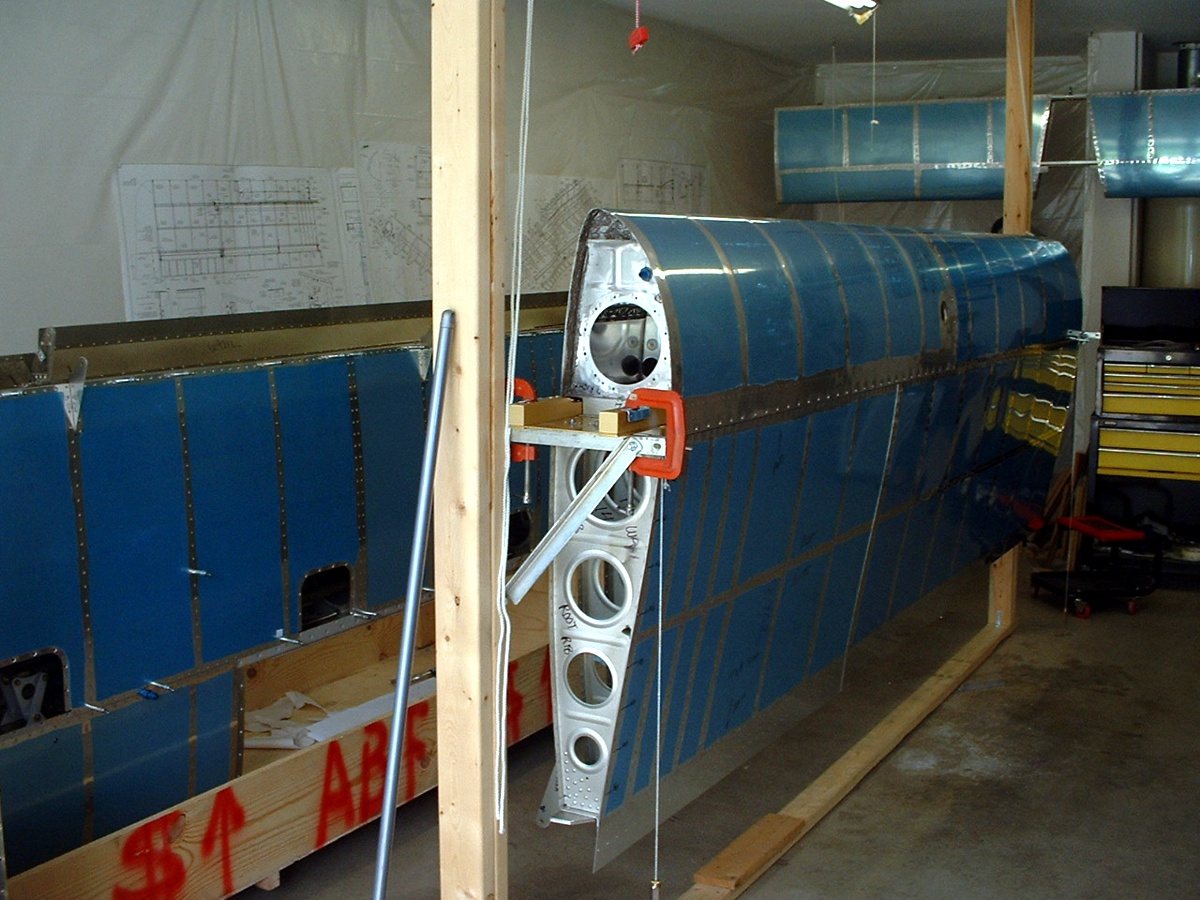
July 14, 2003: The RIGHT fuel tank is
completed and you can see it installed on the RIGHT wing. The access port is not
installed on the end of the tank to insure good ventilation as the sealant cures on all
the seams and rivets inside the tank. You can also see the LEFT wing in the cradle
at the left of this photo. I had the bottom skins clecoed on temporarily to verify
how much access I would have through the inspection access ports.
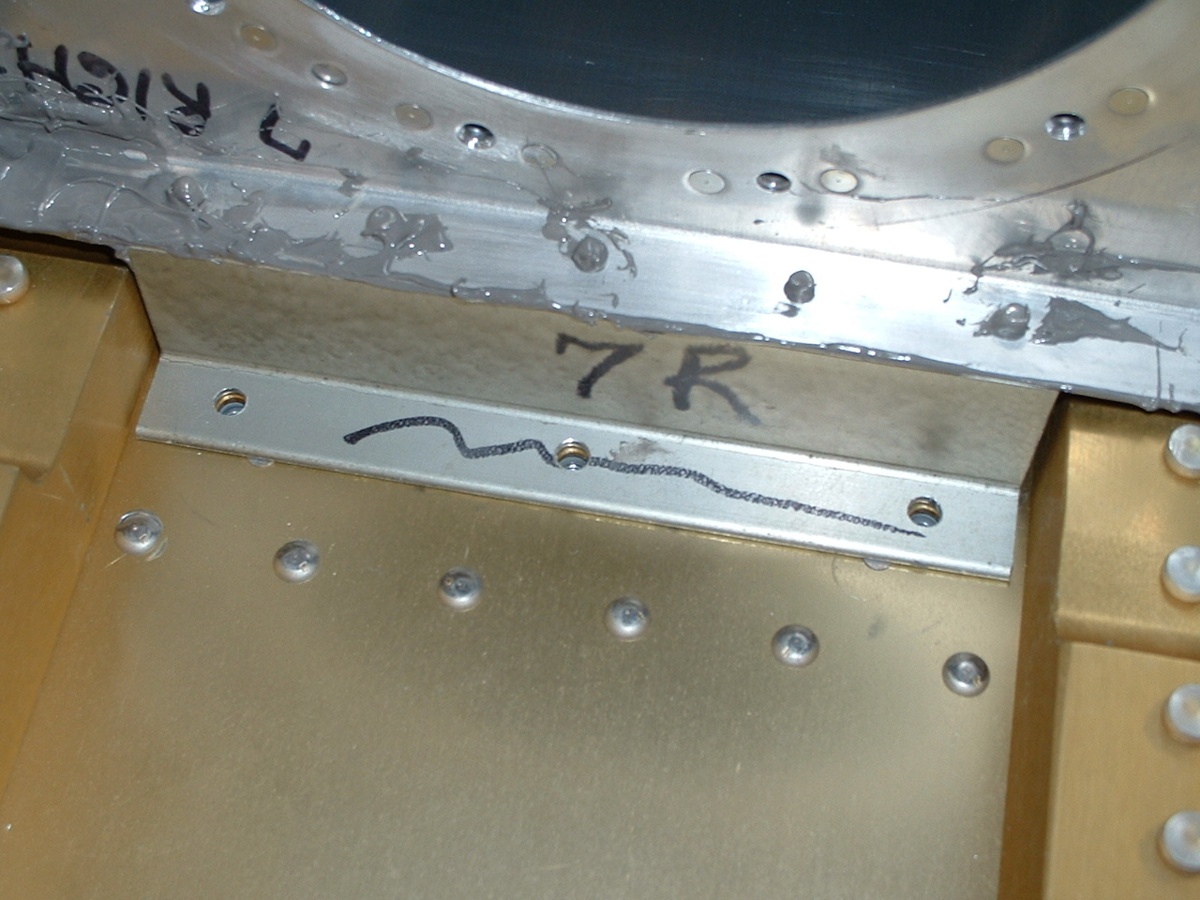
As you can see the fuel tank attachment bracket at the root end of the wing
spar is aligned over the bolt holes.
I am putting the flap and aileron fairings on the rear main spar and top skins to
get the RIGHT wing ready for the storage cradle. The remaining work can be done on
the cradle or on the work table. The wing construction jig is no longer needed.
I will be going over to another RV-9A builder's shop to do the final sealing of
both fuel tanks and pressure checks when the sealant is sufficiently cured on the RIGHT
tank.
| CLICK for PAGE 14. | RETURN to MAIN MENU |