Paul Rose RV-9A · · PAGE 1
November 28, 2005: Paul has been sending me emails for a while now and has started his RV-9A empennage kit. I made a detour off my return path driving home from Florida to check out his shop and his progress on the airplane. Just to let you know, there were plenty of heavy rain storms in my path getting to Paul's home from my starting point in Florida this morning. I made the right choice to leave the airplane at home for this trip. It was raining outside Monday evening while we were inside the shop taking the first five pictures you see below.
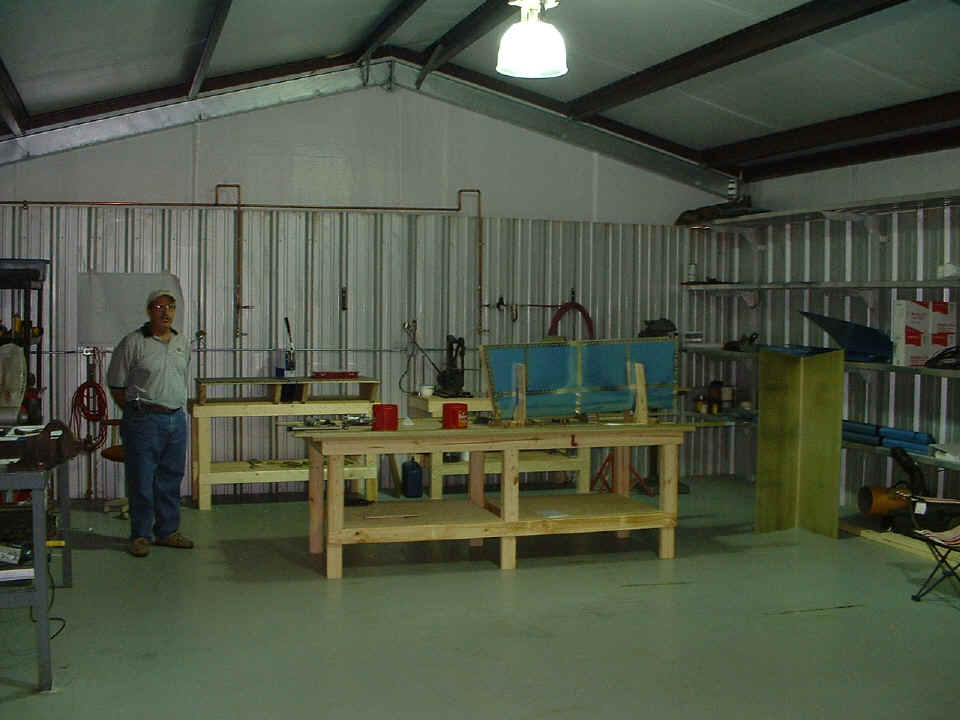
This photo gives a good idea of the size of his shop behind his home.
Building an airplane in here is not going to be a problem for Paul.
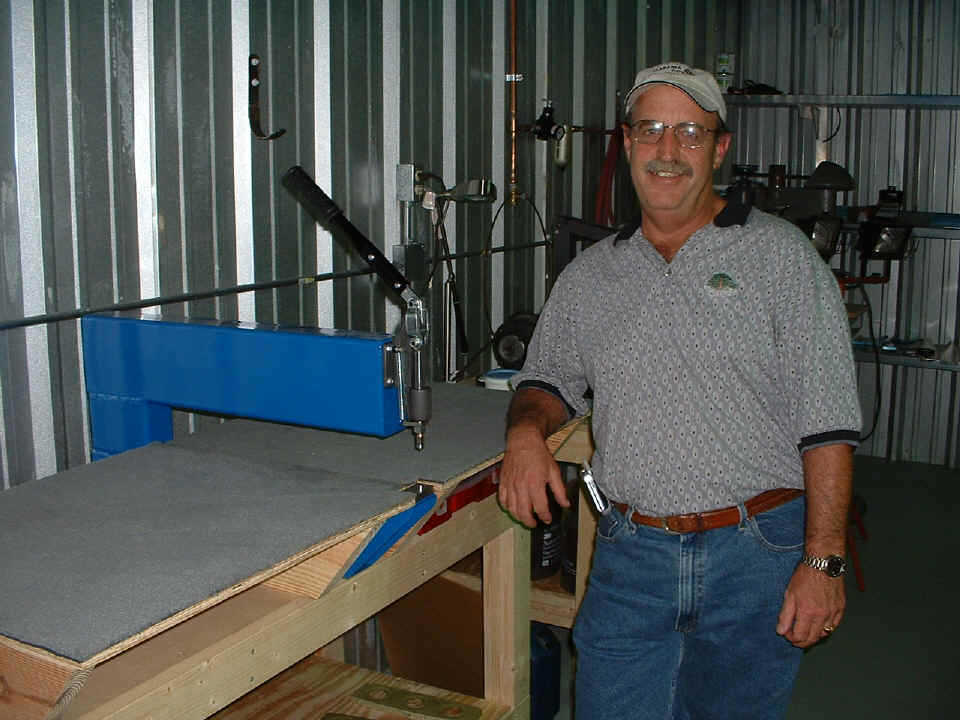
Paul works for a metal company and you can see he has built a nice dimpling
tool for the skins of his RV-9A. He knows a guy who does really good work powder
coating metals. Take notice that this setup allows Paul to put dimples in from the
OUTSIDE of the empennage skins with very good visibility of the work in progress. No
rubber mallet required as the dimple dies are pressed together in this rig!
There is plenty of shelf space for parts storage until they are needed in the
assembly process.
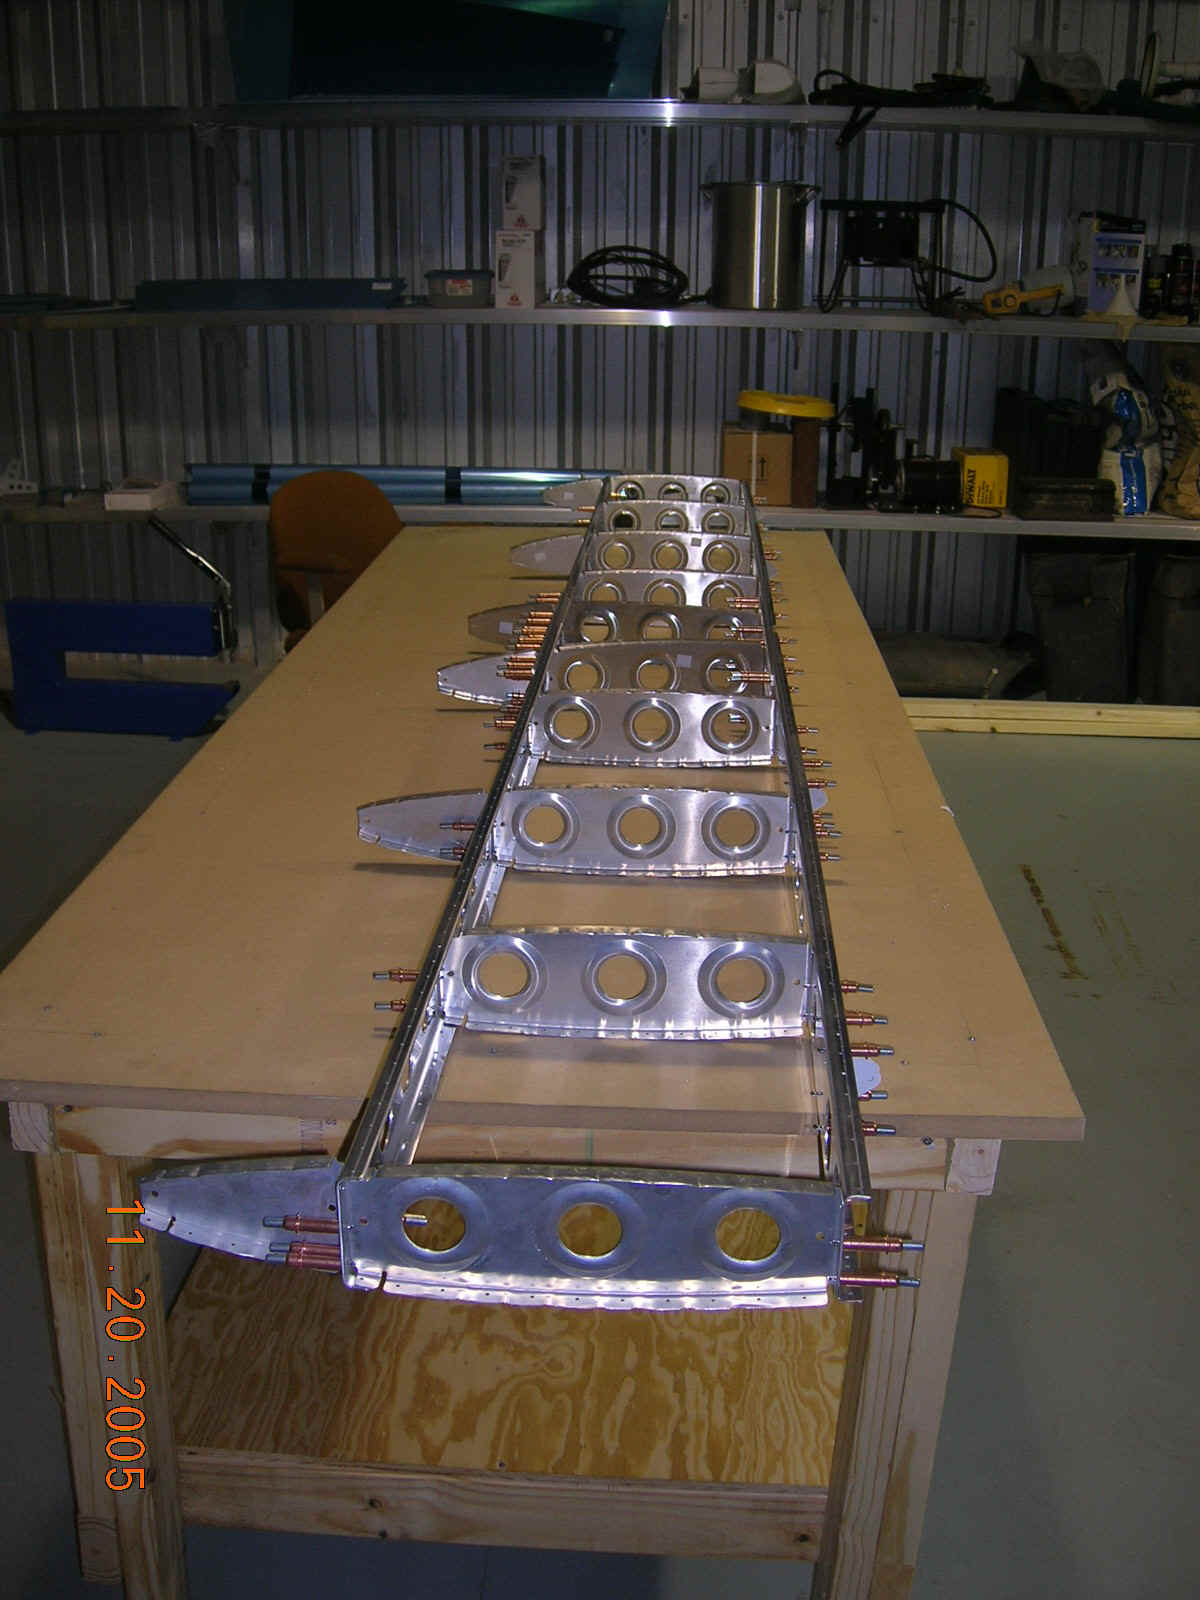
All the horizontal stabilizer parts have been dimpled, deburred, and primed.
He is now ready to begin riveting them together. I provided some hints about
which way to orient some of the rivets to insure the rivet squeezer could be used
effectively. I let Paul know which parts of the HS skeleton could be riveted
together before riveting them to the skins. This should save him some of the grief I
had during my empennage work.
Here is a look at the first nose rib clecoed in position and ready to rivet to
the horizontal stabilizer skin. Paul looked at this page shortly after I posted it
and confirmed that the nose ribs are now riveted into position. He has also used his
pneumatic rivet squeezer and is getting the "hang of it" as he goes forward.
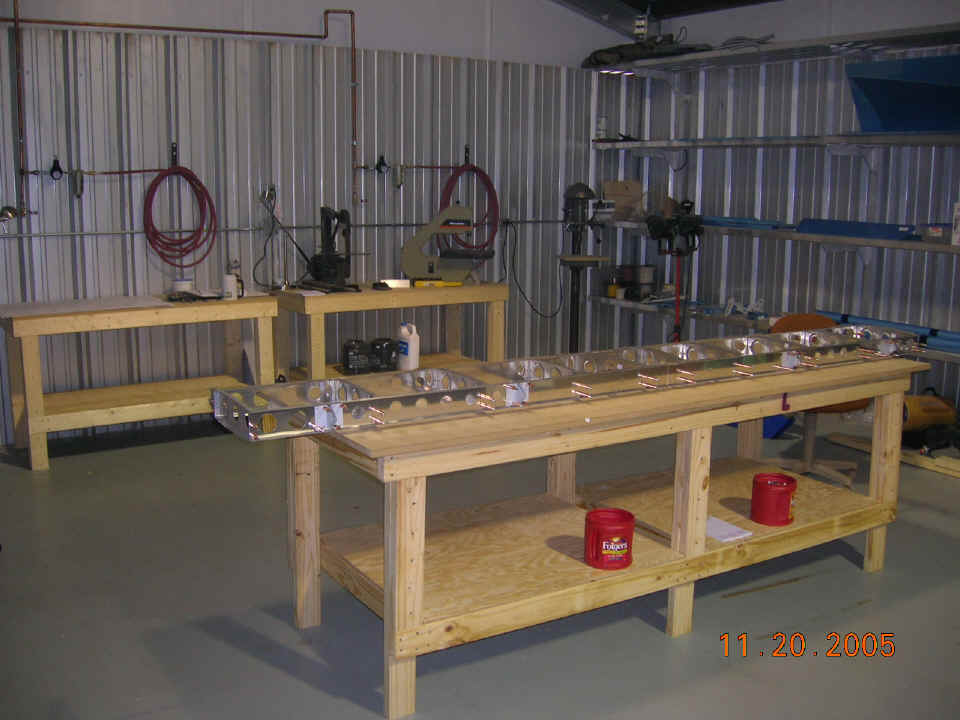
Paul had provided me with several pictures via email from November 20, 2005.
These show the horizontal stabilizer, ribs, and spars after he first assembled them
before priming. By comparing this photo to one at the top of the page above, you can
see the dimpling equipment was not in the shop in this photo below.
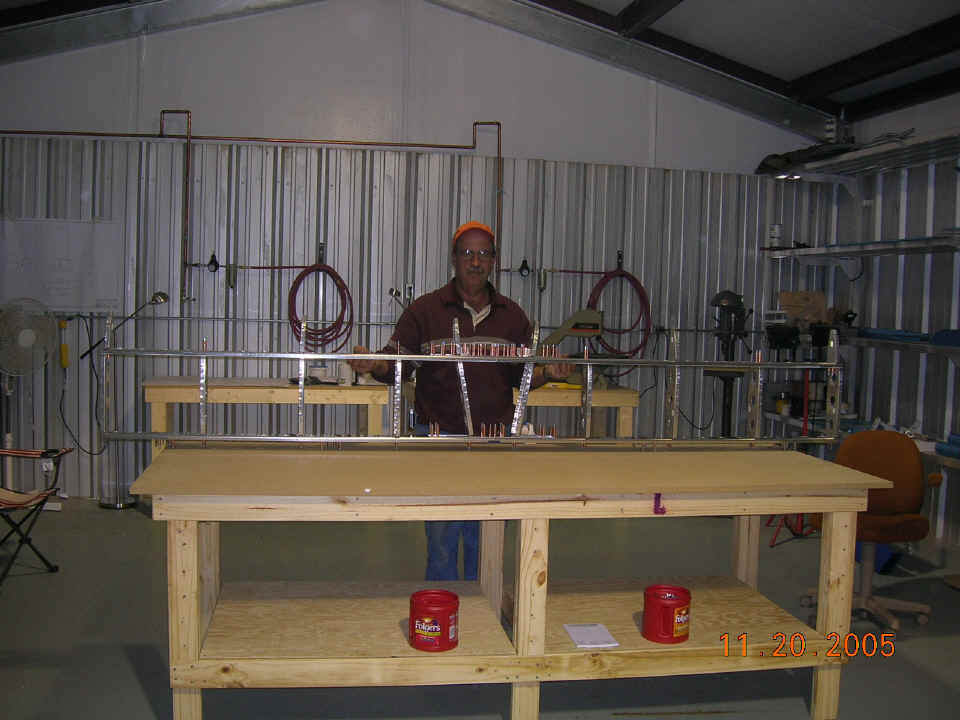
His wife Reva took this picture showing the full ten-foot span of the
horizontal stabilizer skeleton. She takes an active interest in the airplane project
and has been in the shop with Paul for each of his work sessions. She mentioned that
she has gotten pretty good at using the cleco pliers.
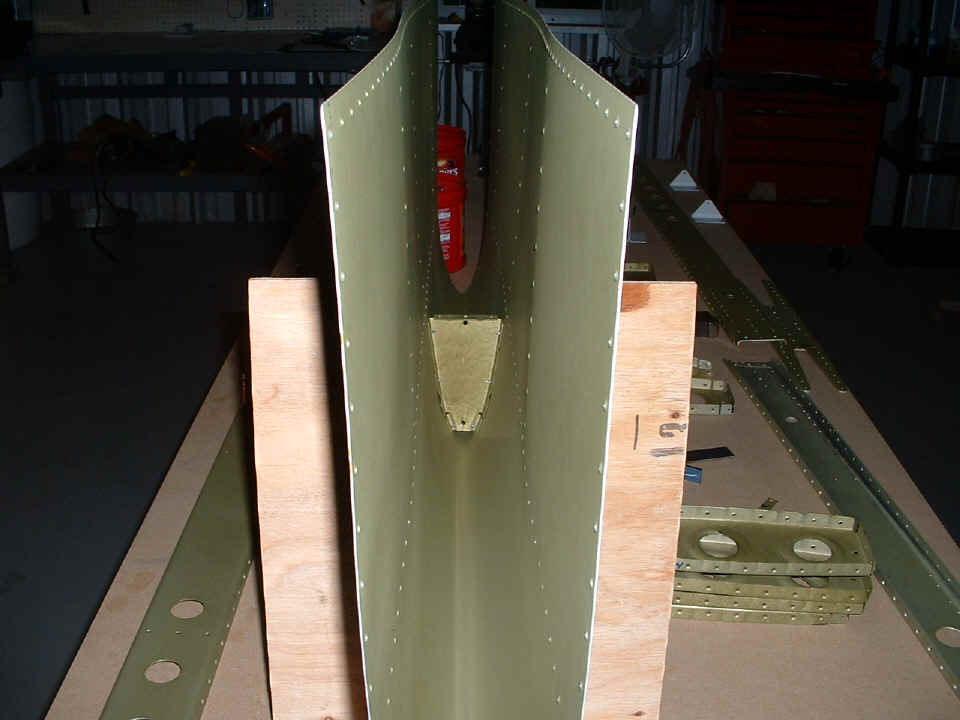
Here is an end-view of the HS skeleton that also reveals much of that storage
space on the north wall of the shop.
| Paul Rose Page 2 | Return to Other RV Menu | Return to Main Menu Page. |